If you have a Blogger site like Wikigain.com, then you constantly need to take screenshots. I know that a lot of the time that we are very convenient with using third-party apps like Snagit and the other apps. But it is also better than we have to know that the tips and tricks of windows 11 to take screenshots. Who knows when it might come in handy. There are multiple ways that you can take screenshots in Windows 11 without using a Third-party. So, let’s get started.
1. Take Screen Shot using Windows + Print Screen Keys
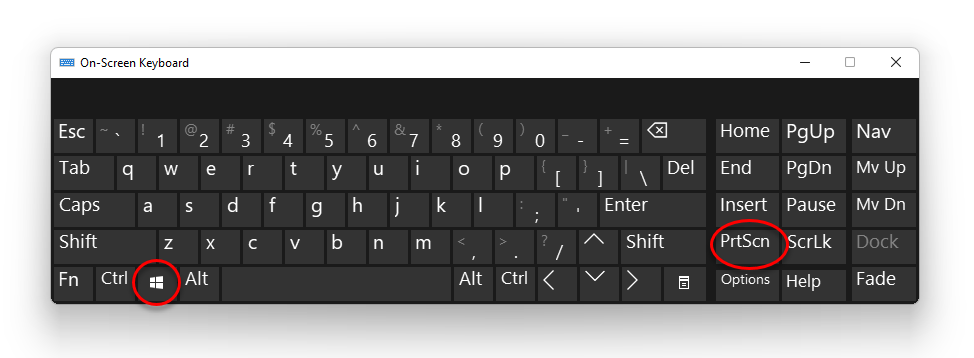
if you are in a hurry and you want to take a screenshot off your computer then simply press windows plus print screen key on your computer. This will take a screenshot in the extension of PNG and it will be saved in the pictures directory. Also when you’re taking the screenshot a dim light will appear and disappear if you are using this method.
Note: Some laptops may have to use Fn + windows button + print screen keys to take a screenshot of their screen.
2. Copy a Screenshot into the Clipboard
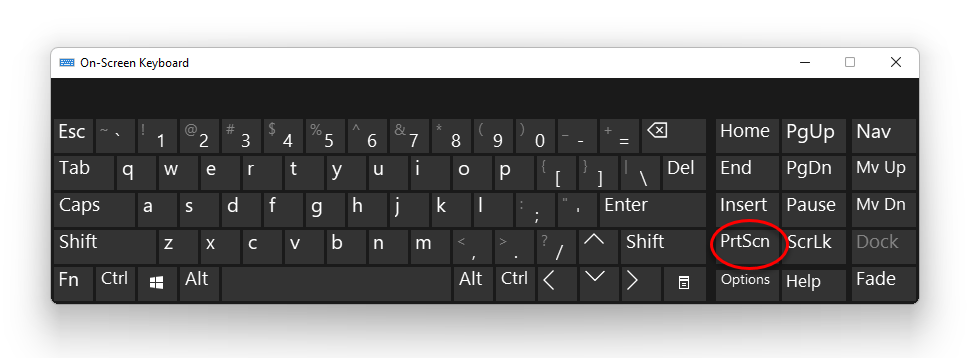
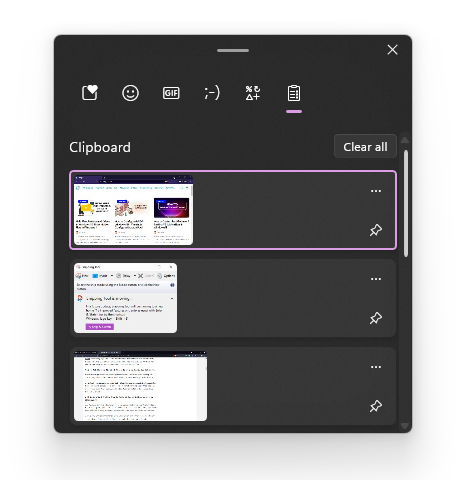
Believe it or not, there is an option that you can take a screenshot and it will be copied in the clipboard. Then later you can use it inside Microsoft Word, PowerPoint, or Microsoft paint. So as long as you can edit a photo, you can paste it anywhere in those applications. To take a screenshot into the clipboard, simply press the print screen key on the keyboard, in some PC’s you have to hold on to the Fn key also.
3. Take a screenshot of the active screen
If you have opened a lot of windows on your computer, then you want to only take a screenshot of a single active window. You can also do it by holding the Alt + print screen. Unfortunately, it will be saved inside the clipboard then you have to simply paste it inside the MS paint or any other application.
4. Take a Screenshot using the Snip & Sketch
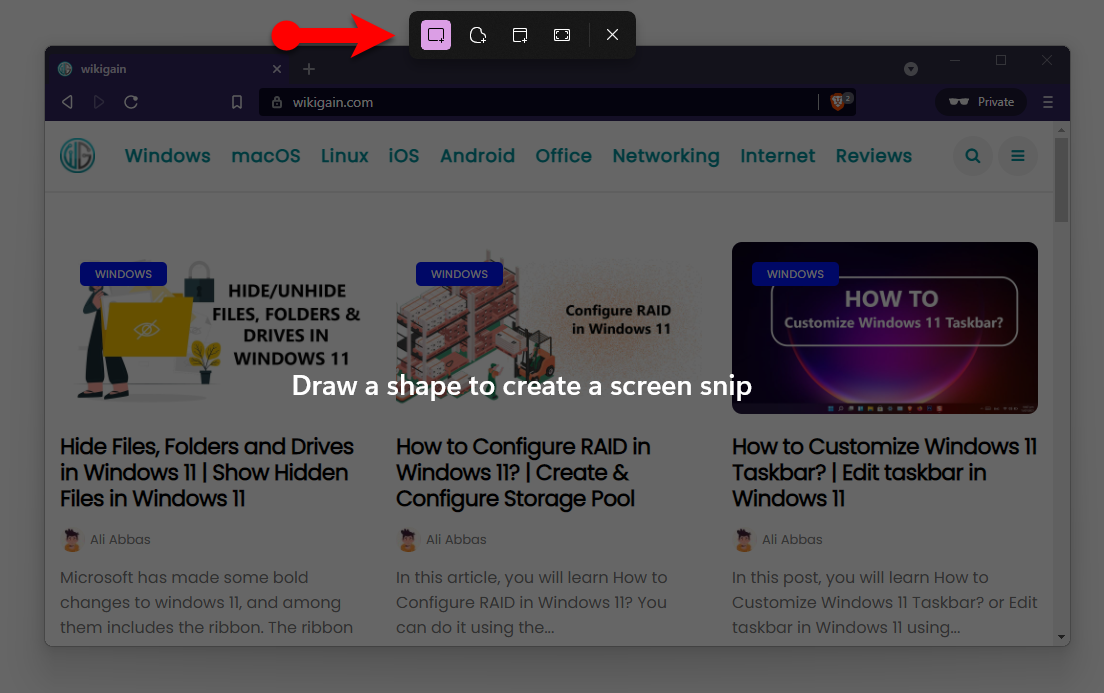
You can take a screenshot of the computer using the Windows logo + shift + S. believe it or not, this is the shortcut of the Snip & Sketch. Unfortunately, there is not a lot of features using this method but you can take a screenshot, and then it will be saved into the clipboard. But mostly, when open it using the Notification, it will open inside the Snip & Sketch.
5. Take a Screenshot using the Snipping Tool
The snipping tool is available since Windows 7, and it is still available in windows 11 however they are about to replace the snipping tool with the Snip & Sketch. Even though you can still use it to take screenshots in Windows 11, but if you are wondering that if it has any other features, you should not worry because it does not have any new features.
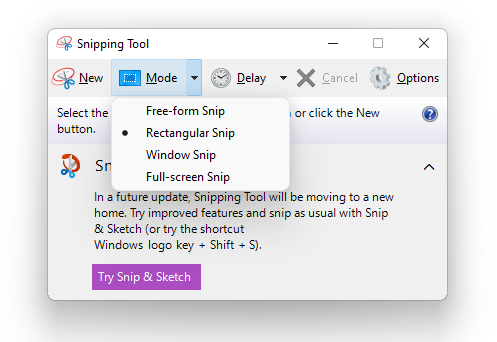
If you want to take a screenshot using the Snipping Tool, you have to the modes.
- You can take screenshots using the Free-form snip which is not quite useful for taking screenshots.
- By default, rectangular is selected, and it is quite useful to take screenshots for a blogging website.
- The window snip is really handy when you have opened several Windows,
- The last one is a full-screen snip, which is clear.
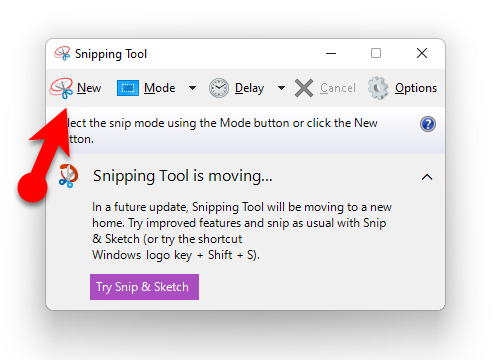
Now that you have selected a mode for taking screenshots, click on the New.
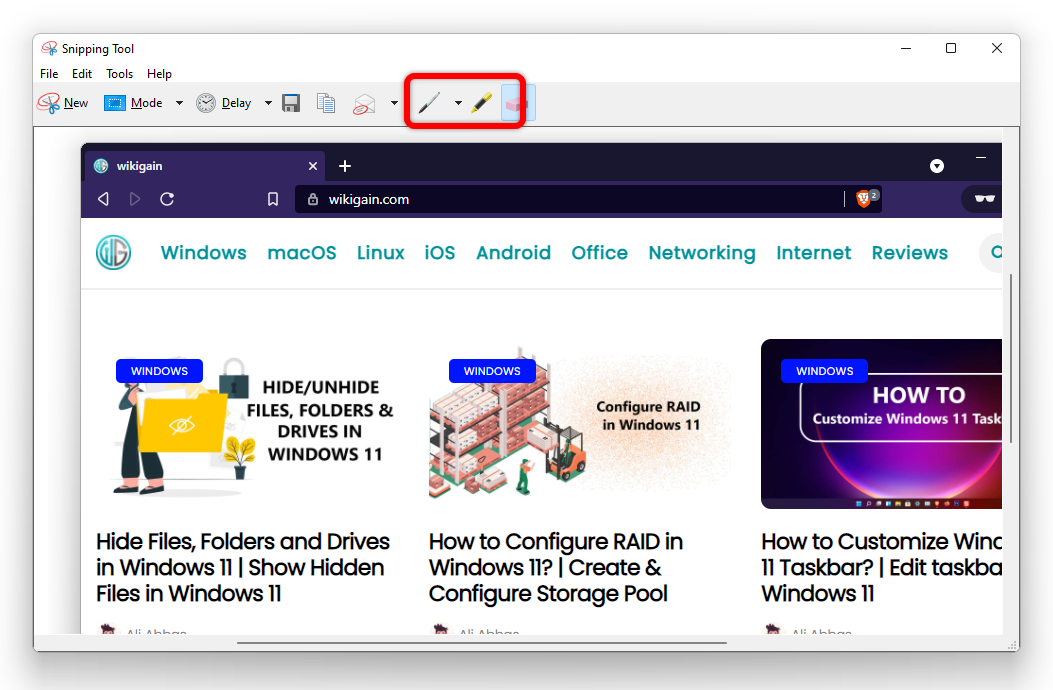
Next, you will have to take the screenshot, and it will open itself inside the snipping tool editor. there is not a lot of editing tools, but you can use the highlighter or the pen.
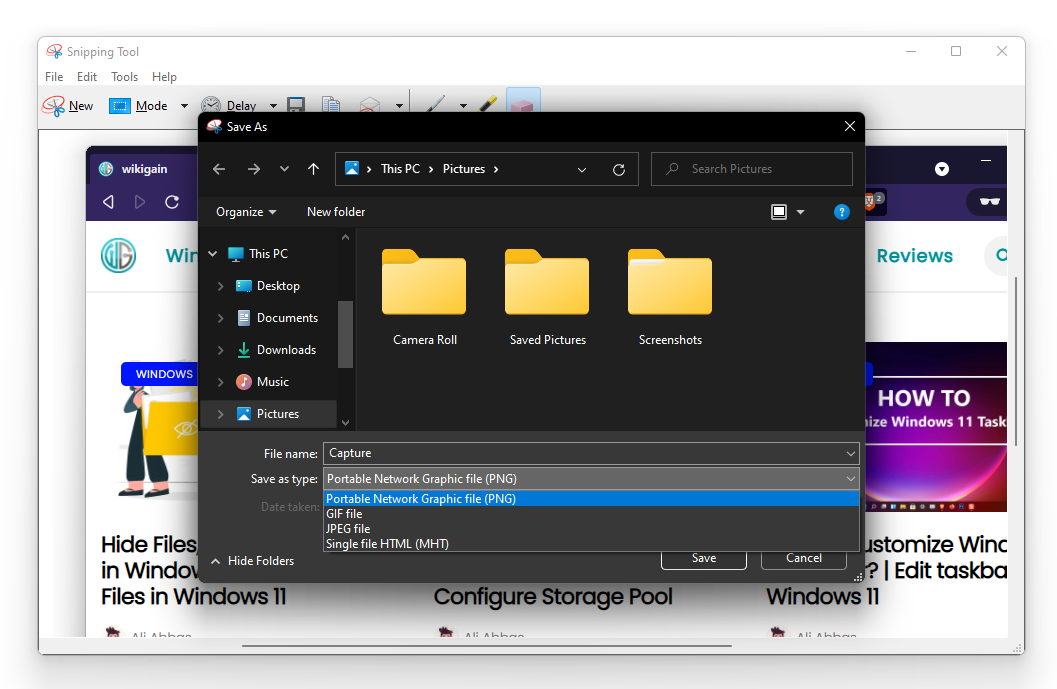
Once you are done, with editing the image, go to the File menu and choose to save as. A new window will appear where you can choose the image extension and provide a name for the image.
6. Take a screenshot using the Gambar
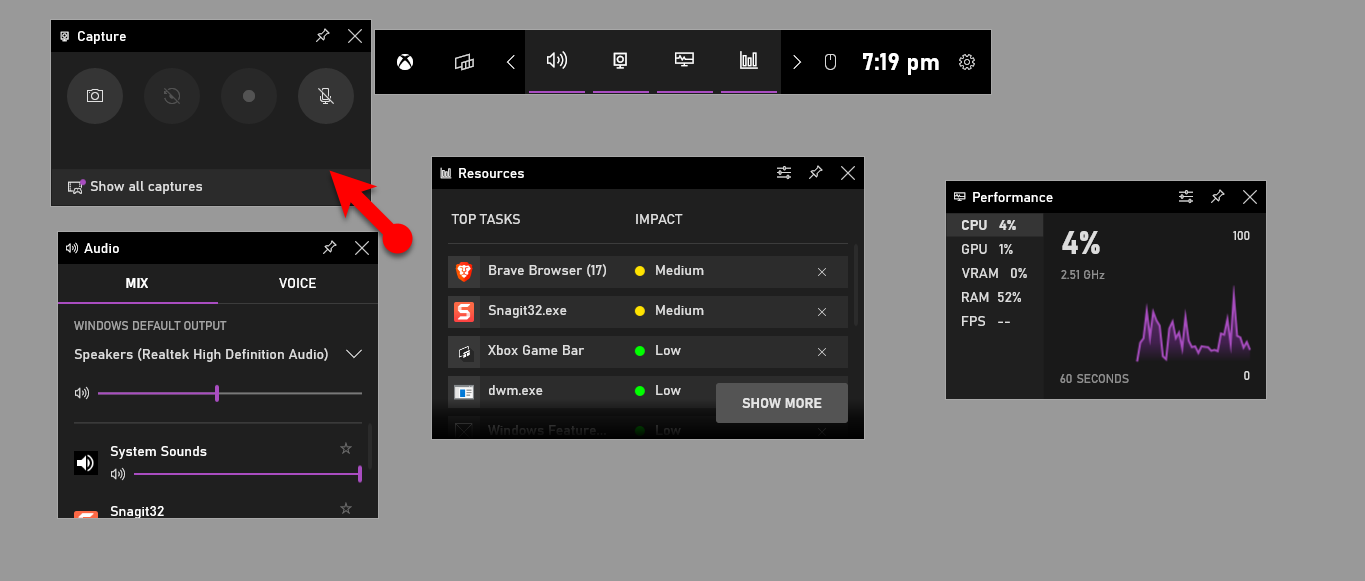
To access the game bar, simply press Windows + G on the keyboard. this will launch the game bar however if you want to take a screenshot you don’t do not need the other window you only need the capture window. You can disable the other window and only make sure that the capture window is open.
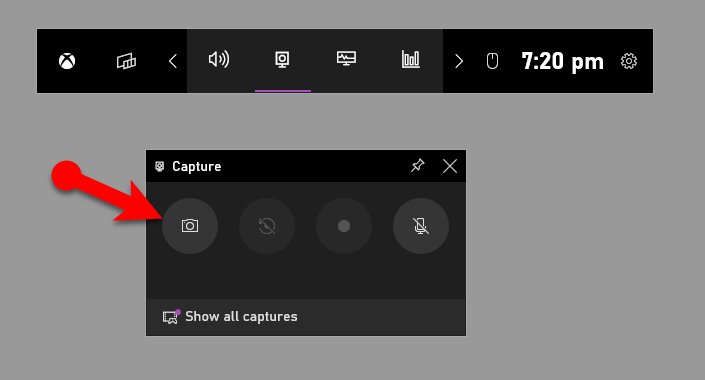
To take a screenshot using the game bar, click on the capture and it will take a screenshot. To put it simply, it is going to take the whole screenshot of the window, so it did not have any features like a snipping tool and snip & sketch.
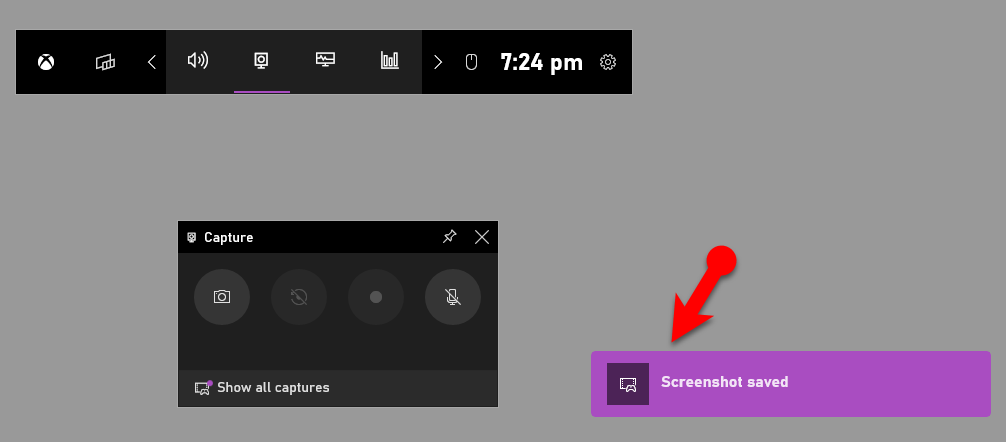
The screenshot will be saved inside the Gallery, from there you can copy it inside the clipboard or share of twitter. and only access it using the end notification. if you are wondering where the images are saved, they will be in (C:\Users\user name\Videos\Captures).
You can use the Windows + Alt+ PrtSc to take the screenshot.
Summary:
This is How you can Take screenshots in Windows 11 without using a third-party app. in any case, if you are still interested in using a third party, I can recommend Snagit, Lightshot, and PicPick.

Leave a Reply