In this article, I am going to show you how to take and use snapshots on VirtualBox. If you don’t how to take snapshots on VirtualBox then you are in the right place, With Snapshots you can create a checkpoint for your virtual machine (VM) and when the time your virtual machine is damaged then you can use that snapshots to bring back everything in their place and restore to that checkpoint. There are a lot of benefits to snapshots, now follow below step by step to learn how to take and use snapshots on VirtualBox.
Take and Use Snapshots on VirtualBox
While you are using the virtualization technology, no matter if it’s on a platform like VMware, VirtualBox or any other application. It’s always necessary to take snapshots of your virtual machine (VM) because whenever something happens to your VM then you will lose your file and it will be too time wasting to reinstall and create a new VM. So one the benefits of taking snapshots are to save your time, and so easy for anyone to restore and get their brand new VM by restoring their snapshots. Follow below to learn how to take and use snapshots on VirtualBox.
Taking a Snapshots
Step #1. You can take snapshots while the virtual machine (VM) is running on VirtualBox. So click on Machine tab and choose Take snapshot or simply just press Host + T from your Keyboard.
Note: The Host button depends on your VirtualBox settings, by default the Host key is Right Ctrl.
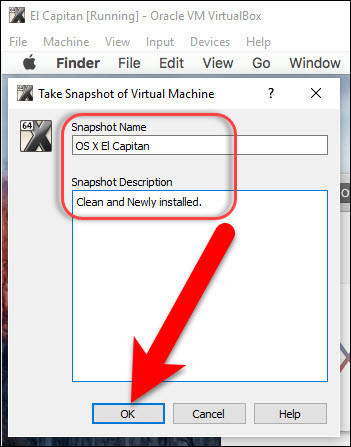
Step #2. Type any name for the snapshot and write down some information in the Description, to easy recognize that which snapshot is this. Finally, click OK.
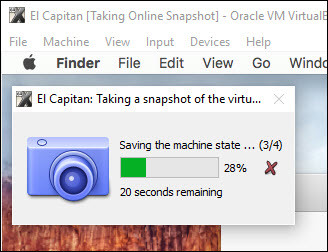
Step #3. Wait for the snapshot to be complete and when it’s 100% then you are done and the snapshot is captured.
Restoring To a Snapshots
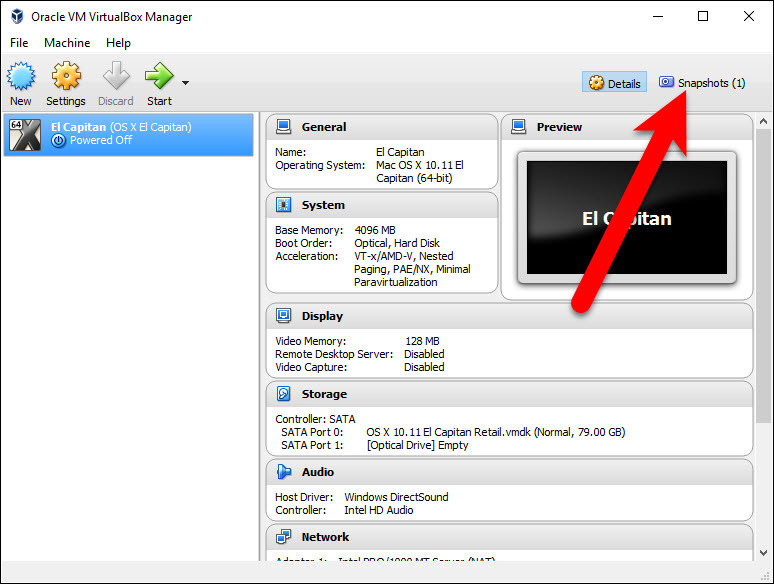
Step #1. To restore to a snapshot, select your virtual machine (VM) and click on Snapshots Tab.
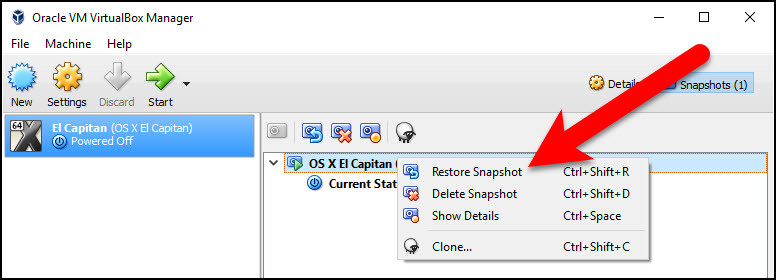
Step #2. Now here, choose the snapshot that you want to restore to that and right-click on that and select Restore snapshot.
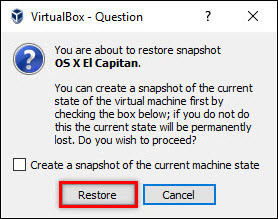
Step #3. Click again on Restore button when the pops come to confirm it. You can create a snapshot of the current state of the virtual machine, by checking the box of Create a snapshot of the current machine state and, if, you, do not then you will lose you current state permanently.
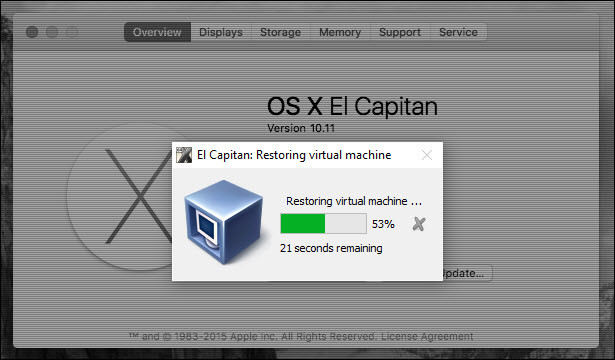
Step #4.While the machine is running then the snapshot will begin to restore and when it’s 100% completed you will get your VM like, it was when the snapshot was taken.
This was all about, how to take and use snapshots on VirtualBox. If you faced any problem tell us below by comment, Feel free to tell us. we’re waiting for your suggestion.


After further testing I see if you’re “Current State” is not a sub entry beneath other snapshots they can be deleted without merging back in to the top level. Once all snapshots except the first have been deleted you can then delete the first one to get back to where you started (i.e. having only a ‘Current State’ and no snapshots).
I noticed 1 thing missing from this article. If I create multiple snapshots in a row and then decide to go back to the first how do I do this cleanly. I know from above I can restore the first one I took before making changes using the restore feature. Once that is the current state can I then delete the others without them merging back into my base image or will they still merge back into it when deleted?
Thanks