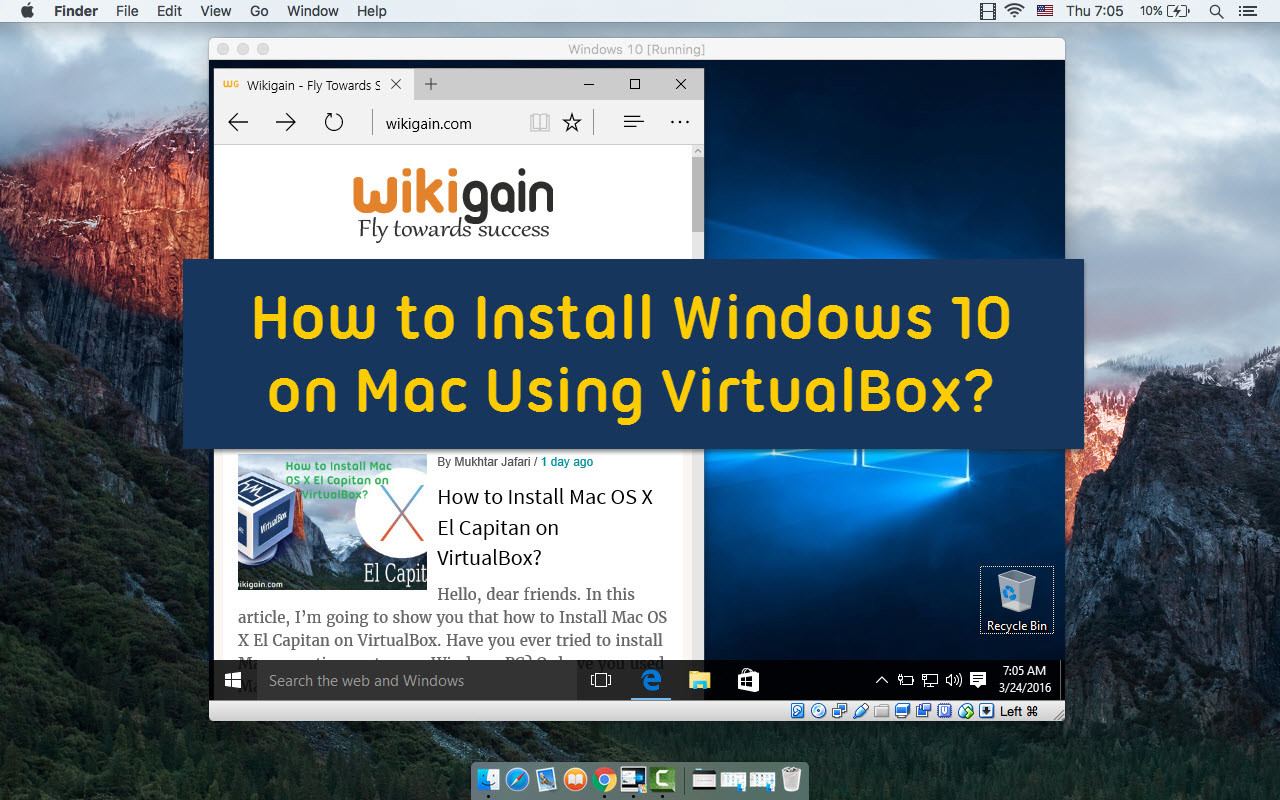
Have you ever tried to install Windows operating system on Mac computer? However, Mac operating system is the best OS and Windows is more popular and well known for the people. You can install and run Windows 10 in OS X for free using VirtualBox. Because this installs Windows into a virtual machine atop existing Mac system software, running Windows is basically like running any other application, which makes it much easier than configuring Boot Camp for a native Windows experience. In this article, you will learn how to install Windows 10 on Mac using VirtualBox, create virtual machine on Mac, and how to edit virtual machine on Mac? with complete step by step guide.
If you would like to Install Mac OS X El Capitan on VirtualBox on PC so visits this article. How to install Mac OS X El Capitan on VirtualBox on PC.
Install Windows 10 on Mac with VirtualBox
Setting up Windows 10 to run on the Mac is quite simple and requirements are basic enough though the more resources the computer has the better the overall experience will be. To get started, you’ll first need to download Windows 10 ISO from Microsoft and get VirtualBox. The rest is just a matter of following the simple instructions, and soon you’ll have Windows running in OS X in no time.
Windows 10 Installation Requirements
- Processor: 1 gigahertz (GHz) or faster
- RAM: 1 gigabyte (GB) (32-bit) or 2 GB (64-bit)
- Free hard disk space: 16 GB
- Graphics card: Microsoft DirectX 9 graphics device with WDDM driver
Windows 10 Installation Requirements for VirtualBox
- Download VirtualBox from Oracle (free) – install this as like any other app
- Download Windows 10 ISO from Microsoft (free) – put this somewhere easy to locate, like the Mac Desktop
- At least 8GB of disk space to install Windows into the virtual machine
- A reasonably speedy computer with sufficient RAM and CPU
Now, let’s get started that how to install Windows 10 on Mac computer by using VirtualBox. Download the VB and Windows 10 ISO. Install the VirtualBox then open it. To install the VirtualBox on your Mac, simply click on the pkg file then click continue.
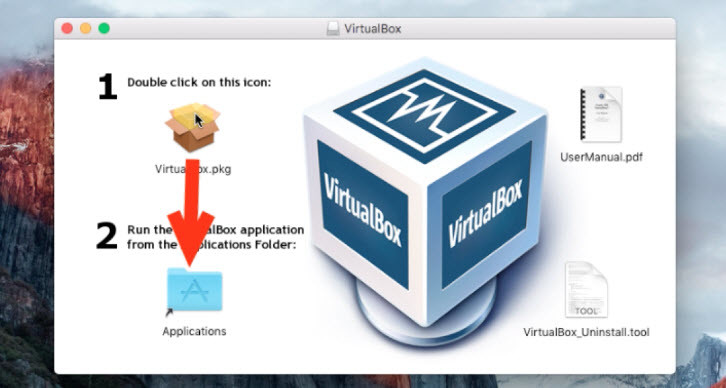
Install VirtualBox on Mac Computer
Create Virtual Machine on Mac
To create virtual machine on Mac, open the VirtualBox first, then tap on the “New“. Once you clicked on “New”, a small window will pop up. In this window. You should choose a name and operating system type. In the name field, type “Windows 10” then choose the Windows type and version. Once you are done. Click on the “Continue” button.

Create New Virtual Machine
Select the amount of memory or RAM in megabytes to be allocated to the virtual machine. At least 1 GB for 32-bit version and 2 GB for 64 version.

Choose Memory Size
If you wish you can add a virtual hard disk to the new machine. You can either create a new hard disk file or select one from the list or from another location using the folder icon. For this demonstration, click on the second option “Create a virtual hard disk now“.
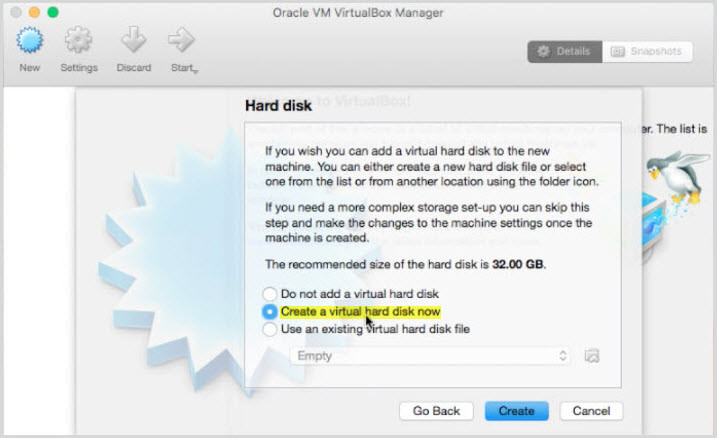
Create a Virtual Hard Disk
When clicked on create, a new window will be shown to you. Now, choose the first option “VirtualBox Disk Image” then hit the “Continue” button.

Hard Disk File Type
A dynamically allocated hard disk file will only use space on your physical hard disk as it fills up then it directly take space from your host computer. A fixed size hard disk file may take longer to create on some systems but is often faster to use. It depends on you that which type of disk you want to choose. I use here the “dynamically allocated“.
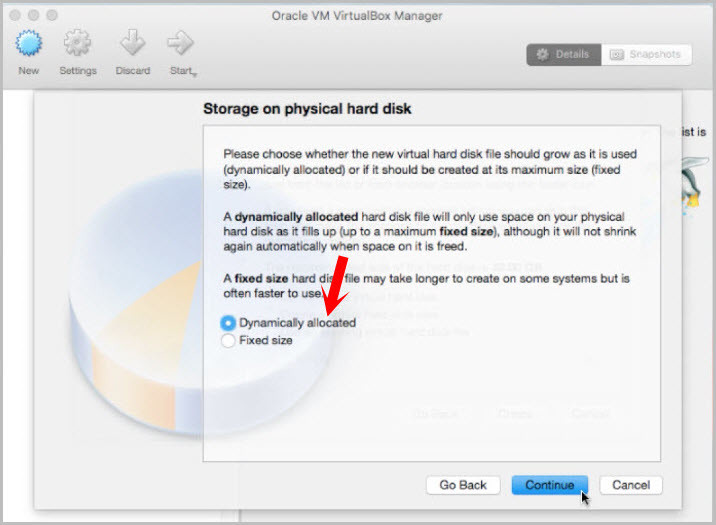
Dynamic Disk and Fixed Disk
Now, the name of the virtual machine hard disk file. Or click on the folder icon to choose a different folder. Don’t forget to select the size of the virtual machine hard disk in megabytes. This size is the limit on the amount of file data that a virtual machine will be able to store on the hard disk.
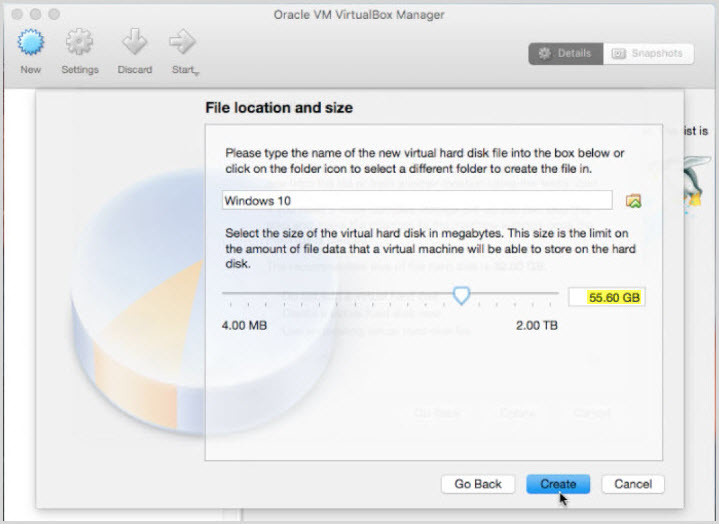
Choose File Location and Disk Size
How to Edit Virtual Machine on Mac?
When you create a brand new virtual machine so now it’s time to edit virtual machine. If you skip this process, you will not be able to install Windows 10 on Mac computer with VirtualBox. Now, click on the VirtualBox “Settings“.
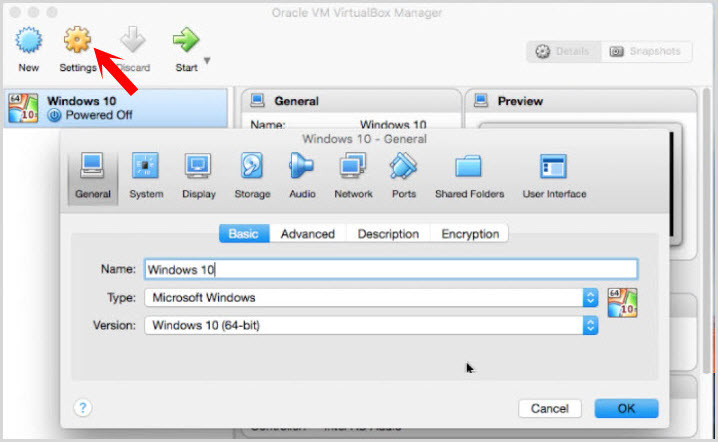
Editing Virtual Machine on Mac
Now, you’ll see the some options ” General, System, Display, Storage, Audio, Network, Ports, Shared Folders, User Interface”. First, click on the system tab. Choose at least 2 GB of RAM for 64-bit version of Windows 10. Put the chipset to “PIIX3“.

VirtualBox System Settings
Now, Go the “Display” then setting everything like the screenshot below.
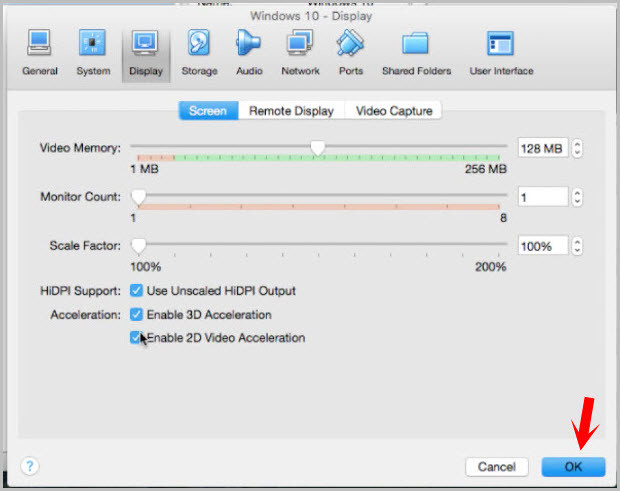
Create Virtual Machine on Mace
Go the “Storage tab“. Click on “Empty“. There is a small CD/DVD icon at top right hand-side. Click on that and choose Windows 10 ISO wherever it’s located. It’s done! tell here.

Choose Windows 10 ISO Image
Install Windows 10 on Mac by Using VirtualBox
Now, everything is ready for Windows 10 installation. To install Windows 10 on Mac, tap on green arrow icon “Start“. Automatically the Windows will start installing on VirtualBox.
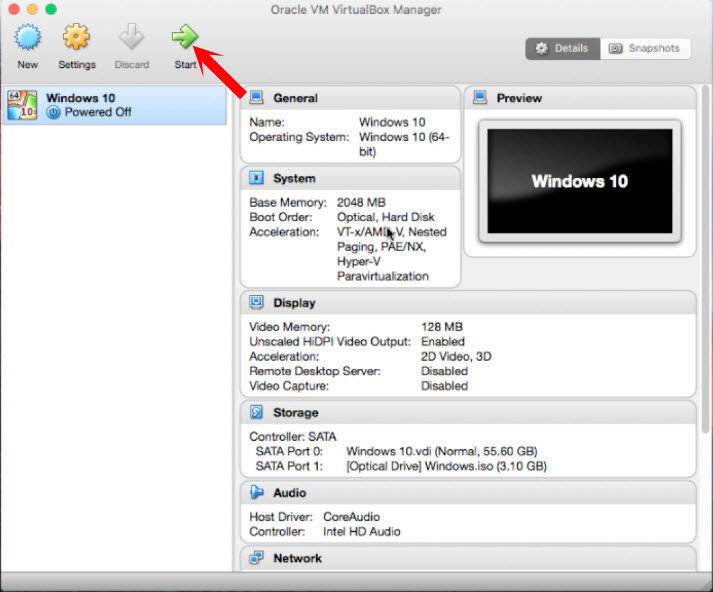
Start Virtual Machine
Now, the Windows 10 will start installing. Choose the keyboard and language and click next button.

Installing Windows 10 on Mac using VirtualBox
Choose “Install Now“. Check out the Microsoft software license terms then hit “Next” button. Choose ” Custome installation of Windows“. Now, You have to do some partitions on this device. Click “New” then apply. Hit next to start the Windows 10 Installation.

Create new Partition
Wait for some minutes and get relaxed. This will take around 15 to 20 minutes to complete.

Install Windows 10 on VirtualBox
After several times restarting the below page will pop up for you. If you have the Windows 10 Product key, so type and hit enter otherwise, click on the “Do this later“.

Enter Windows 10 Product Key
Choose ” Use express settings“.
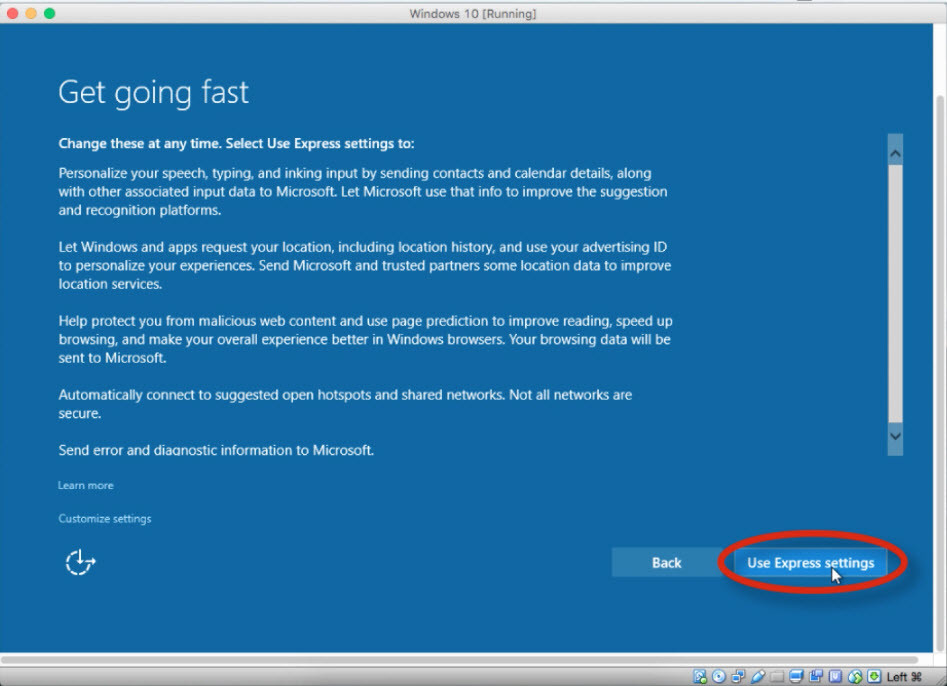
Use Express Account
Don’t create an account, just tap on “Skip this step“.

Sign up for Microsoft Account
Create an account for this PC. To create an account, type the username and password. Choose a proper hint for the password. If you don’t want to use the password for this device. Only type the username and click “Next” button.

Create New User account for Windows 10
It’s done now! This is the complete screenshot.

Installed Windows 10 Successfully on VirtualBox
Conclusion
Though this was somehow lengthy but we have covered everything. Again if you did not understand any point. Feel free to ask us just below this post. If you’re enjoying this VirtualBox experience, you may be pleased to discover that you can run many other operating systems in the virtual machine environment as well. Thanks for being with us.

Hello, I am interested in this and I would like to know if it would work without any internet connection.
Yeah dear, It works without an internet connection, but you need to download the files first.
Hello,
I would like to know why don’t we have to enter a product key… I am more than fine with it but it is a little bit strange.
Will it always be like this?
Hi dear Tomas
You can enter the product key. When you purchase windows 10 or other editions, Microsoft will give you a product key. But here we are using windows for 30 days. So it means we have not purchased windows operating system.