Sooner or later web 3.0 is going to dominate the web, and once it is implemented the world of the internet is going to change. Meta has taken the first step towards it but it is not just the metaverse that will evolve. In fact everything that we know will change. The non-fungible token is also known as NFT is the second Step towards web 3.0. The first step was obviously was cryptocurrencies.
What are Fungible and Non-Fungible?
In Simple words Non-Fungible means non-replaceable. It means we can’t replace it with another thing because there is something unique. Suppose I give $100 to you and get from you 10 $10 notes, it means were have the same amount with the same value. Now, this is called fungible.
Suppose if we talk about the Mona Lisa painting, it is not fungible, why because it is unique and irreplaceable. It can not be replaced with another painting. Now, this is called non-fungible.
What is a token?
Suppose when we are going to buy a house, after buying the house there is a registry which you must fill that this house belongs to you. In the same manner, when you own something digitally, that registry is called Token. The token is also digital.
So, in a real-world lawyer, the government can track property in the records that it is yours but in the digital world, especially in the NFT market people are going to track it in the form of Blockchain. Now if you are thinking about what is Blockchain, that is entirely another story. But examples are bitcoin, Ethereum, dogecoin, and many more.
So, in simple words, a Non-fungible token means you can’t replace an item with another item and you have its license.
This is the simplest that I can explain, if you didn’t get it, do a google search and I hope you will find a simpler way.
Step 1. How to Create MetaMask Wallet
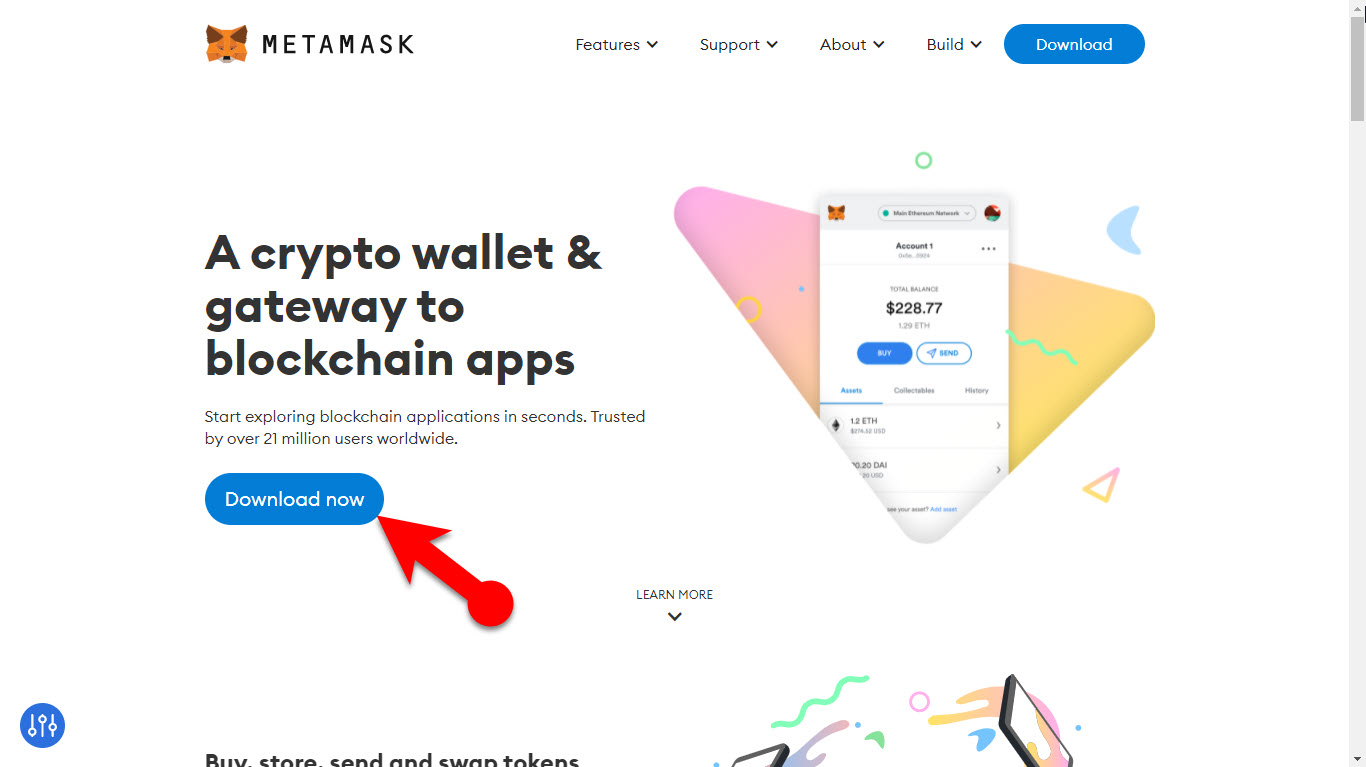
- Visit Metamask.io
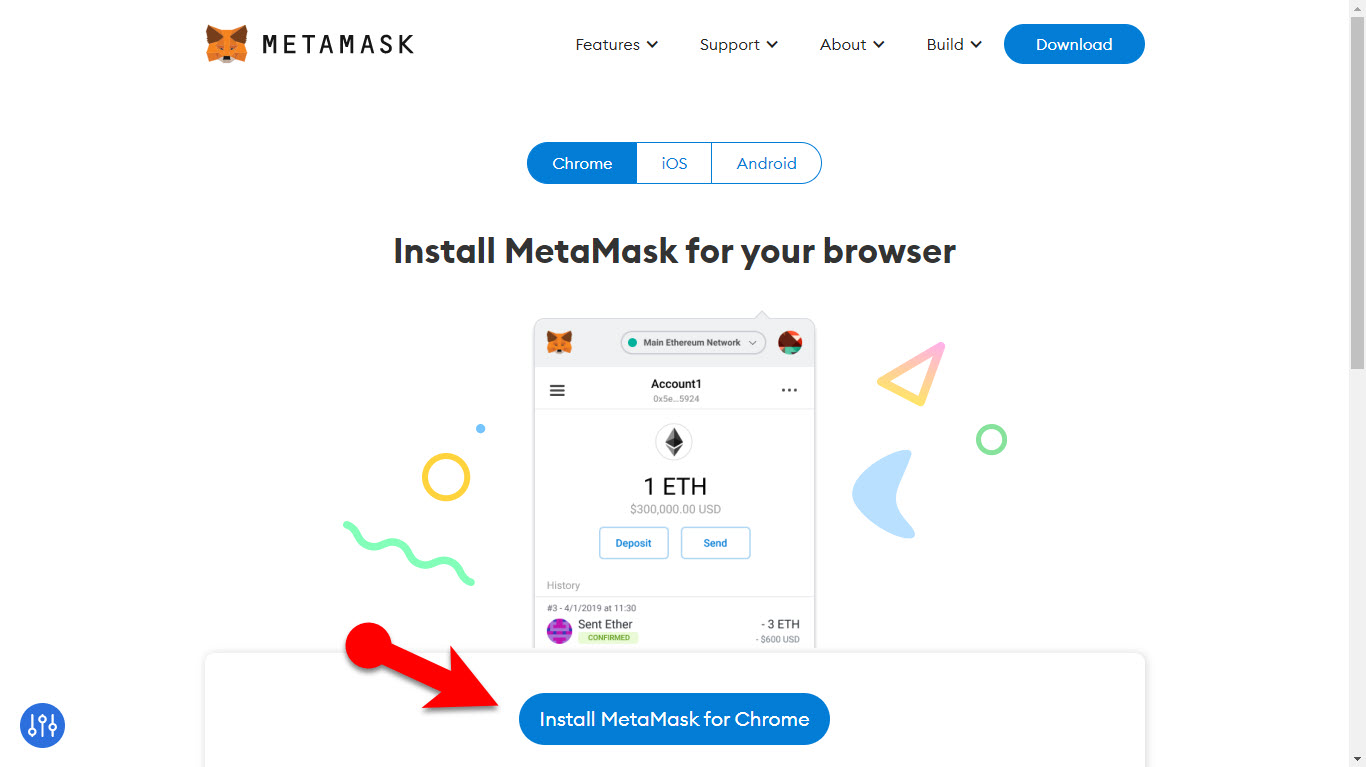
- Click on download and download the extension for the browser that you are using. I am using Google Chrome, so, I will click on install Metamask for Chrome.
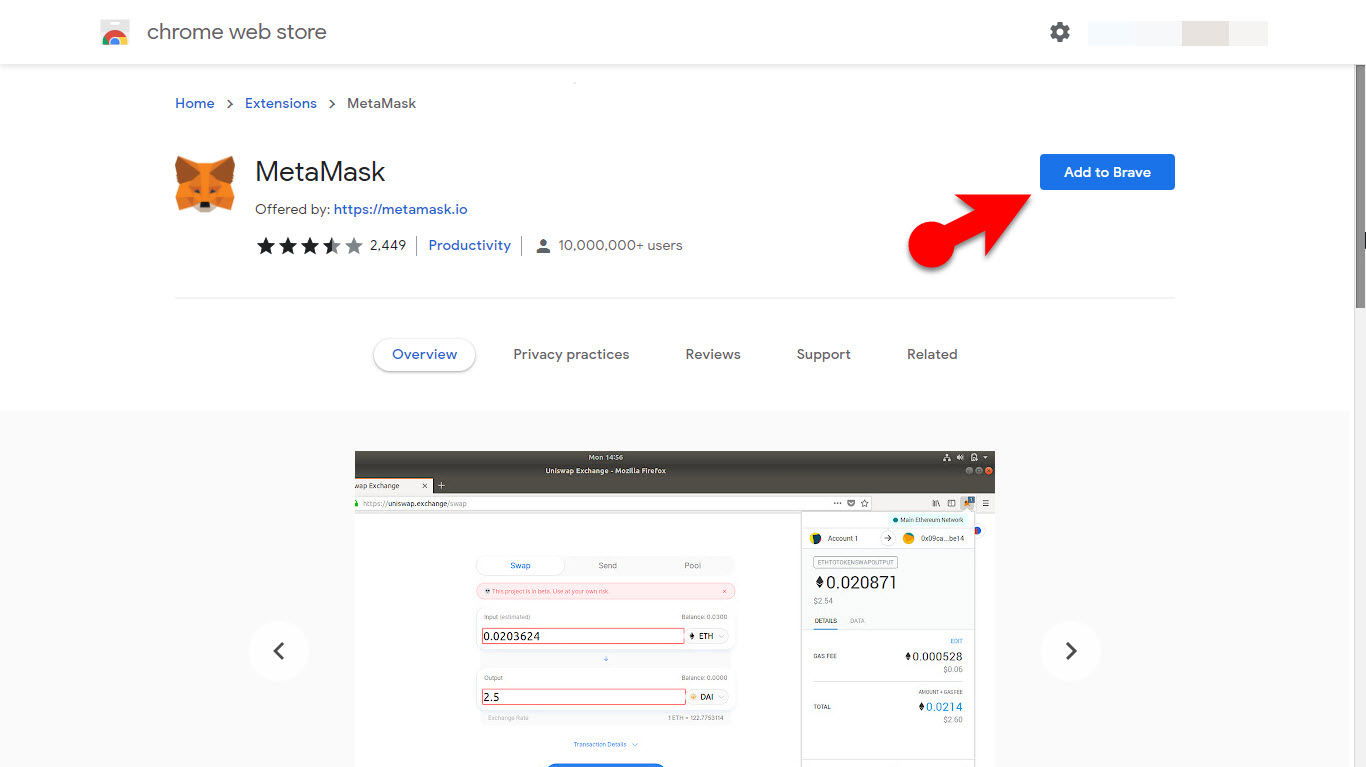
- After you clicked on it, it will take you to Chrome Webstore, which you have to add.
- Download Now
- Install MetaMask for Chrome
- Add to Chrome
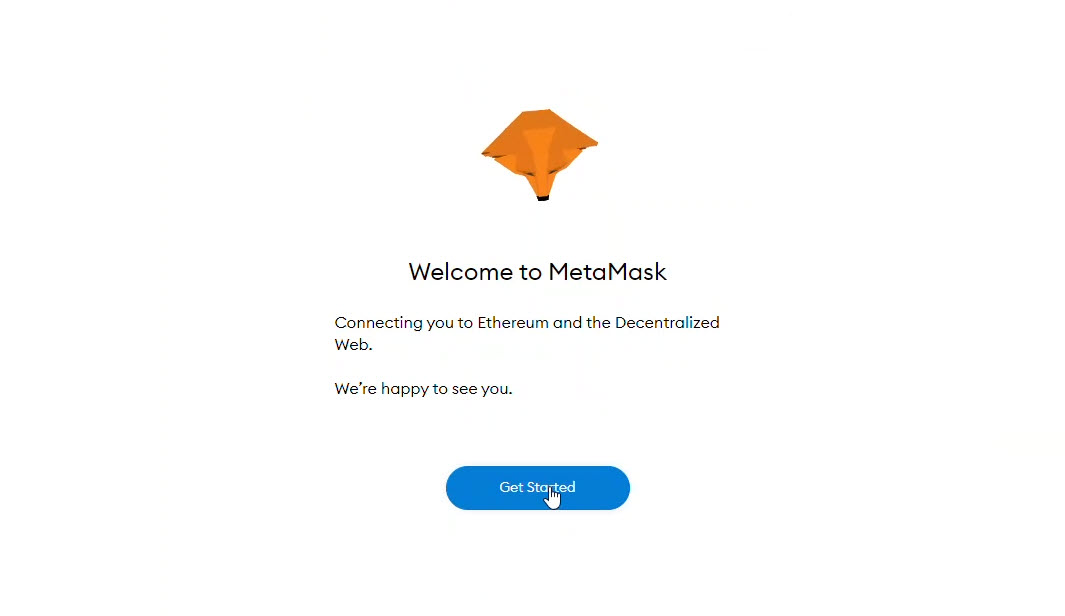
After installing the MetaMask extension, a new welcome tab will open, you have to click on get started.
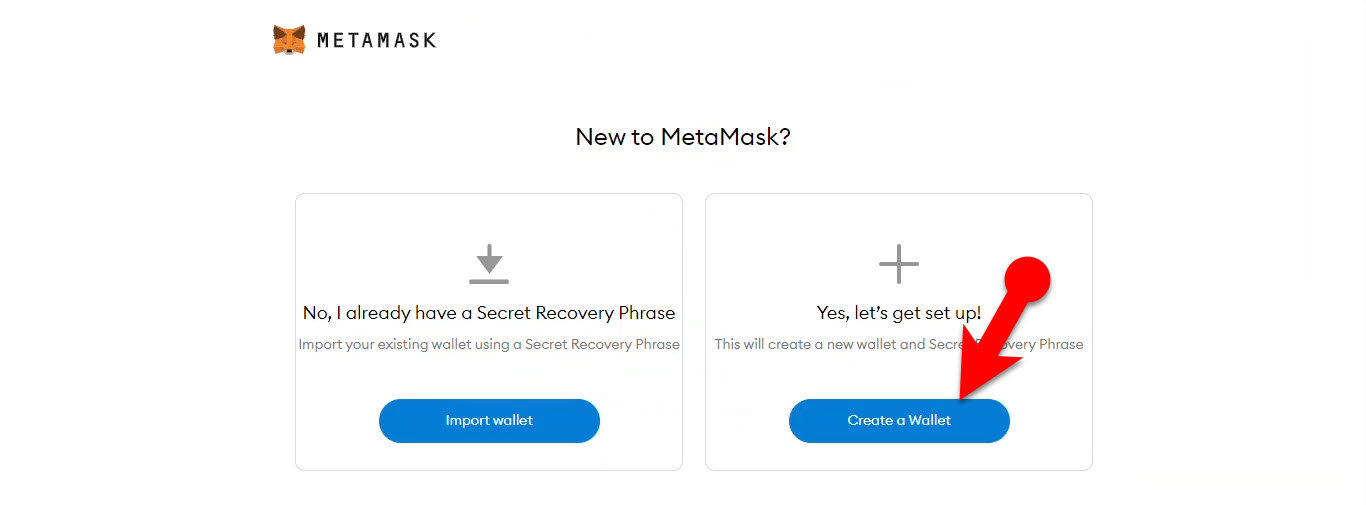
It is time to create a new wallet.
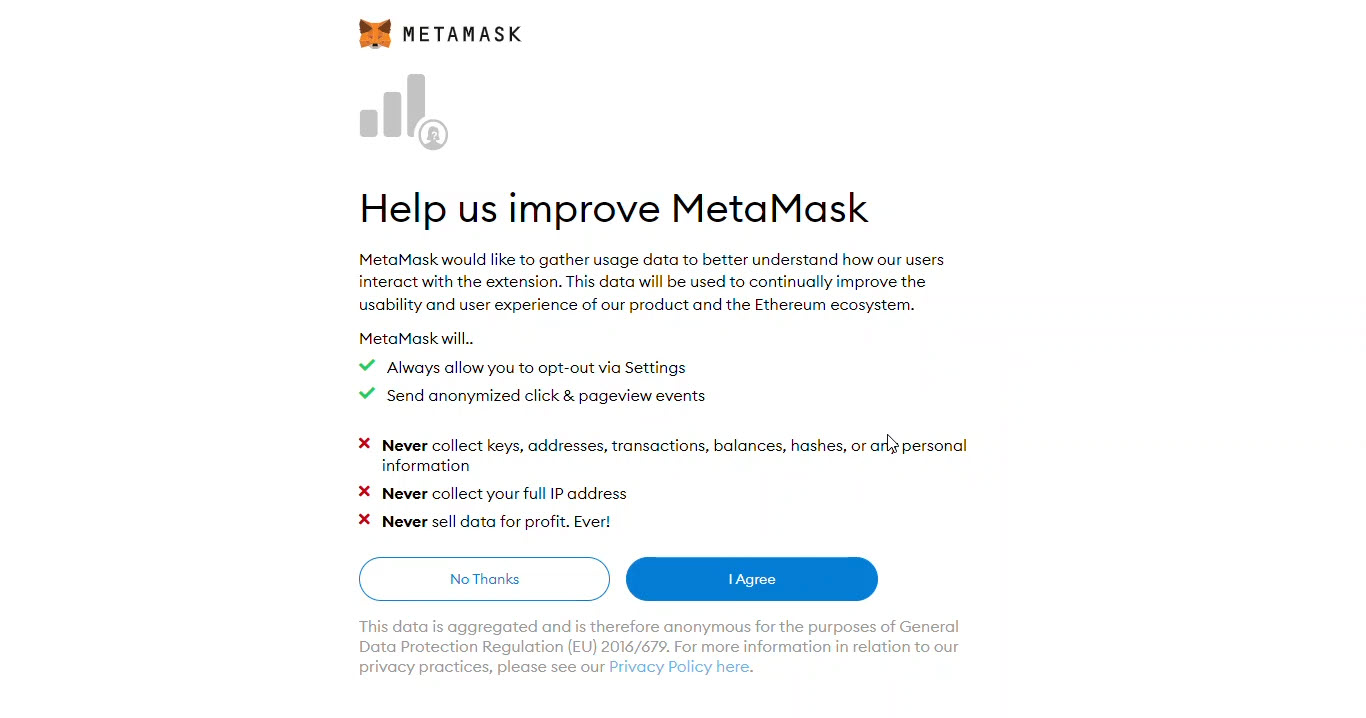
MetaMask is collecting some data to improve the quality of MetaMask Extension. Also, they have clearly mentioned that they won’t collect confidential data such as keys, transitions, addresses, balance, and personal information.
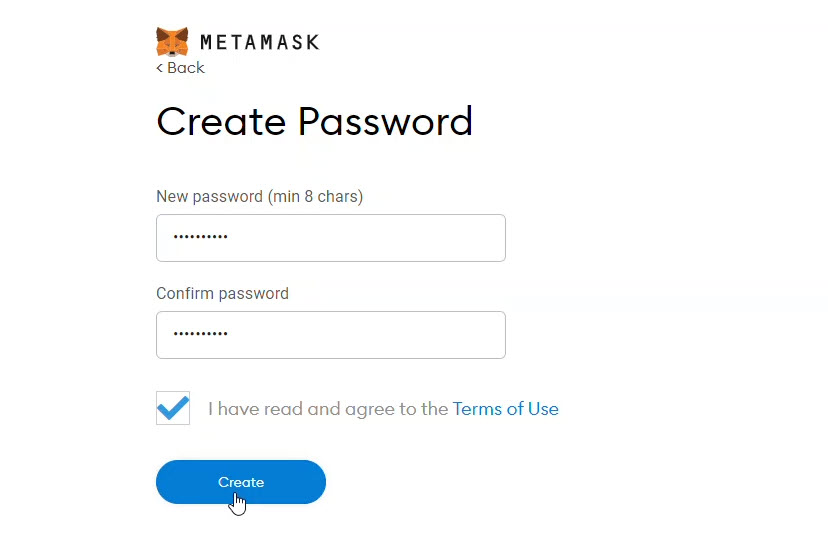
After that, you have to create a Password for MetaMask. Remember, if you forget your password, there is recovery except for the phrases that the MetaMask team will provide you. So, at any cost you have to remember the password, also if you forget your password the MetaMask team will not help.
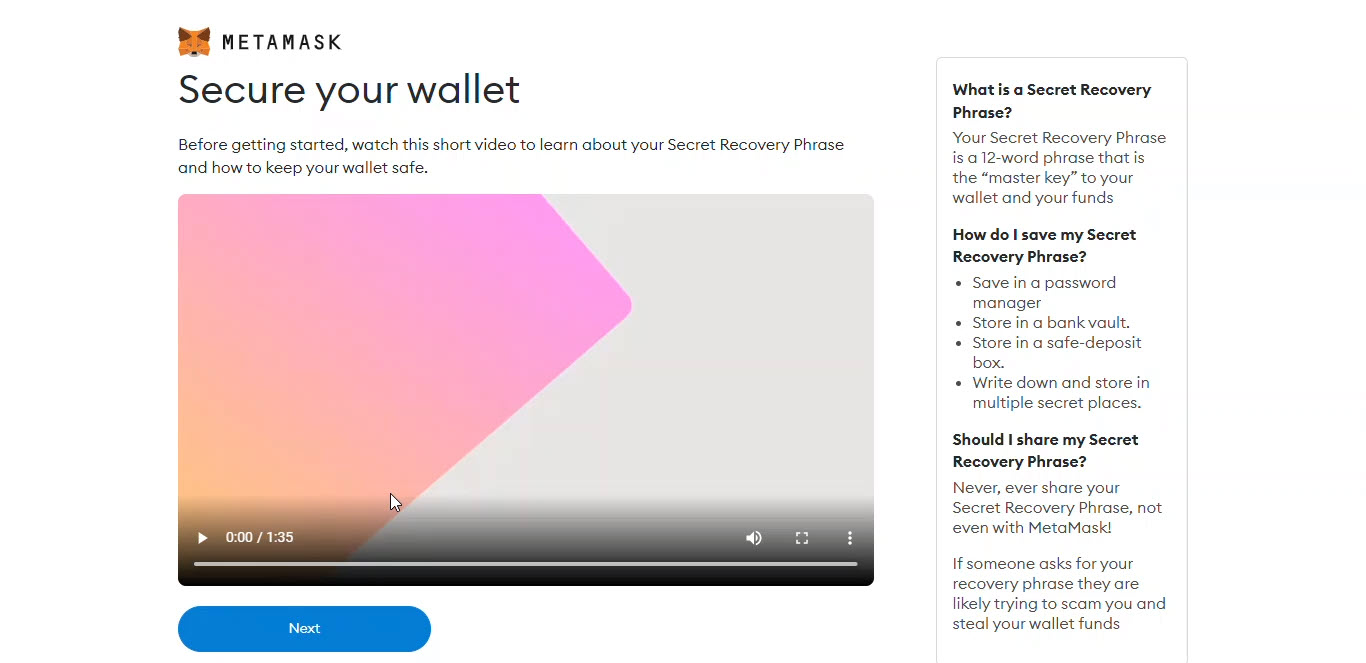
I recommend you to watch the video where the MetaMask team explained everything in detail regarding the MetaMask Team works.
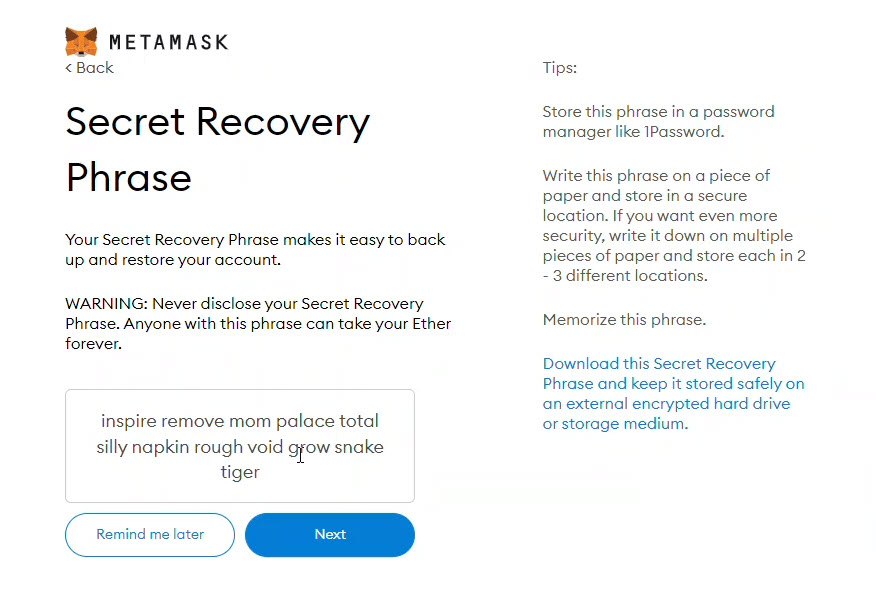
After that the MetaMask is going to provide you with the phrases, you have to click on the lock to show the phrases. Then make sure that you save those phrases somewhere.
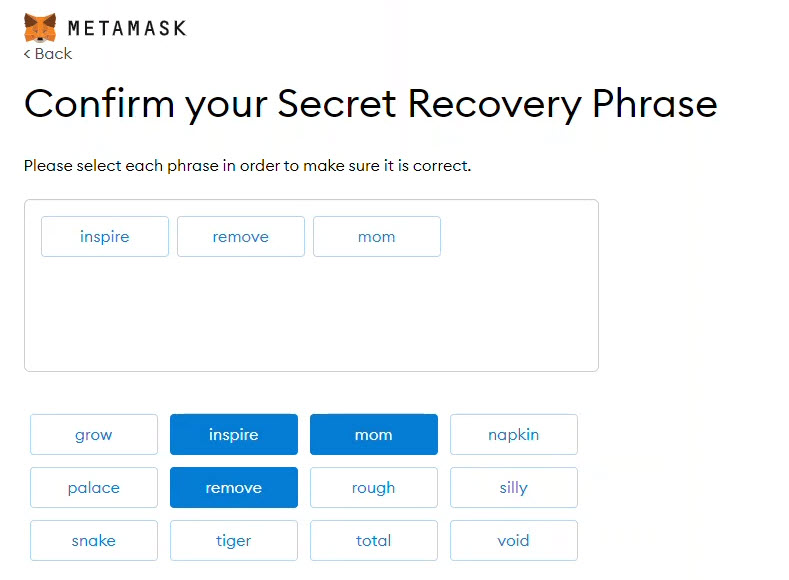
Now you have to confirm the secret recovery phrase that previously you saw. Put them in the same order that you saw in the previous step.
Now everything is good to go, currently, the only cryptocurrency available inside the MetaMask is Etherium but you can add other coins too. For now, that is not our subject, however, it is time to sync the MetaMask with Opensea.io
Step 2. Sync the MetaMask Wallet with Opensea.io
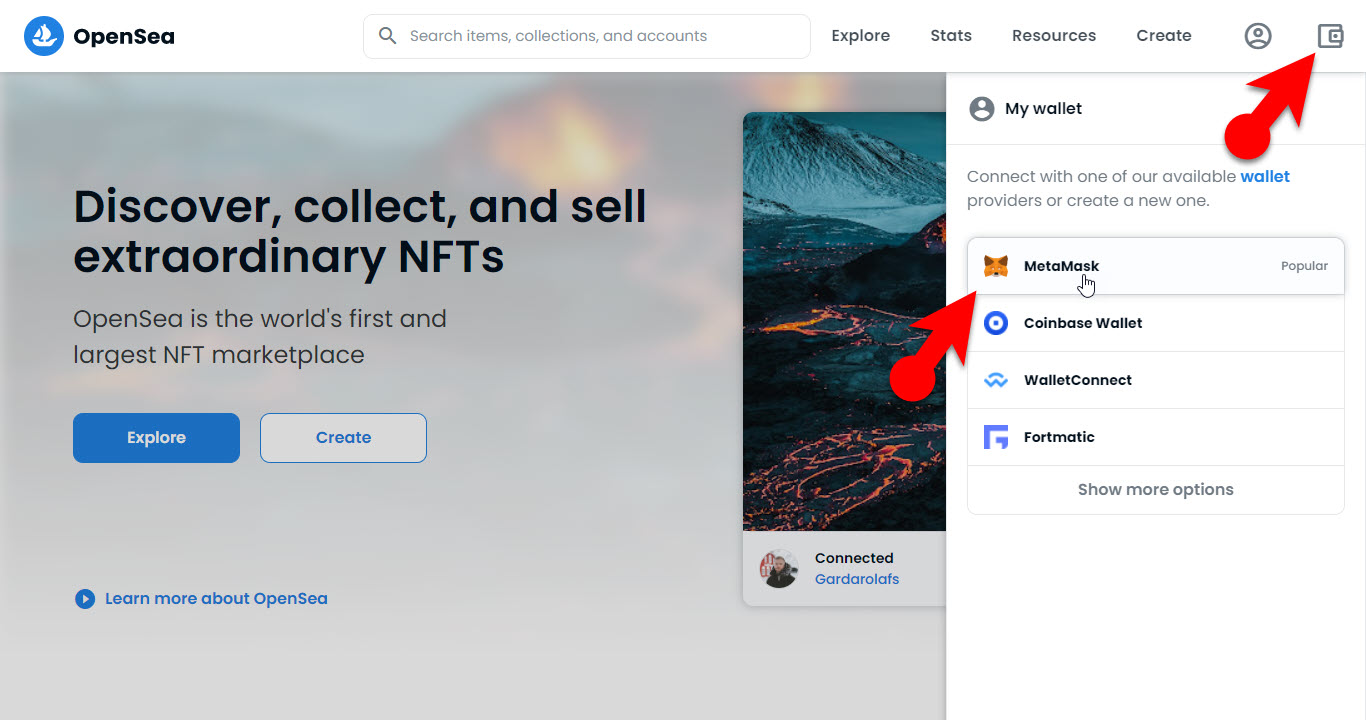
After signing up for MetaMask, you have to sync or connect your crypto wallet to Opensea.io. Opensea.io is the most popular NFT Market Place, so we are going to use it. It means we are going to create and Sell our first NFT there.
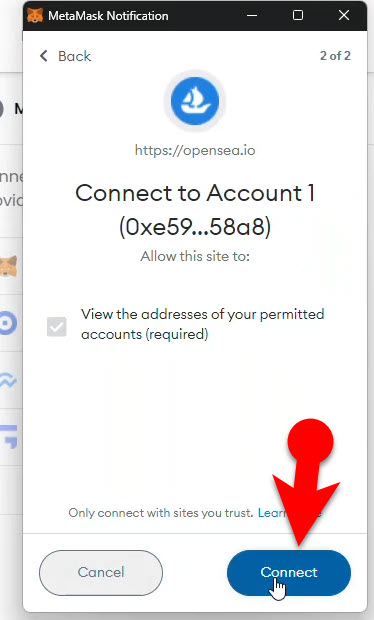
After that, a small window will open through the extension, click on connect.
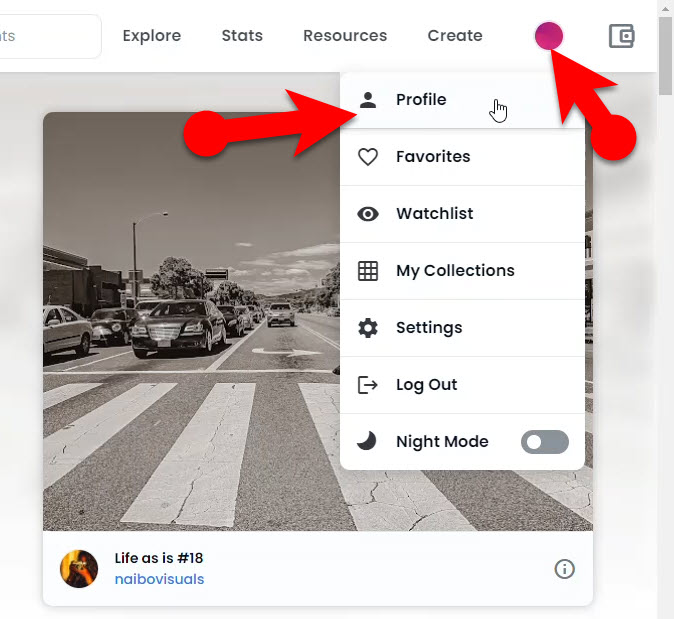
A moment later the Metamask and Opensea are connected but it is time to do some configuration inside the Opensea. It means, provides a name, email address, and Bio. Click on the small avatar and choose the profile.
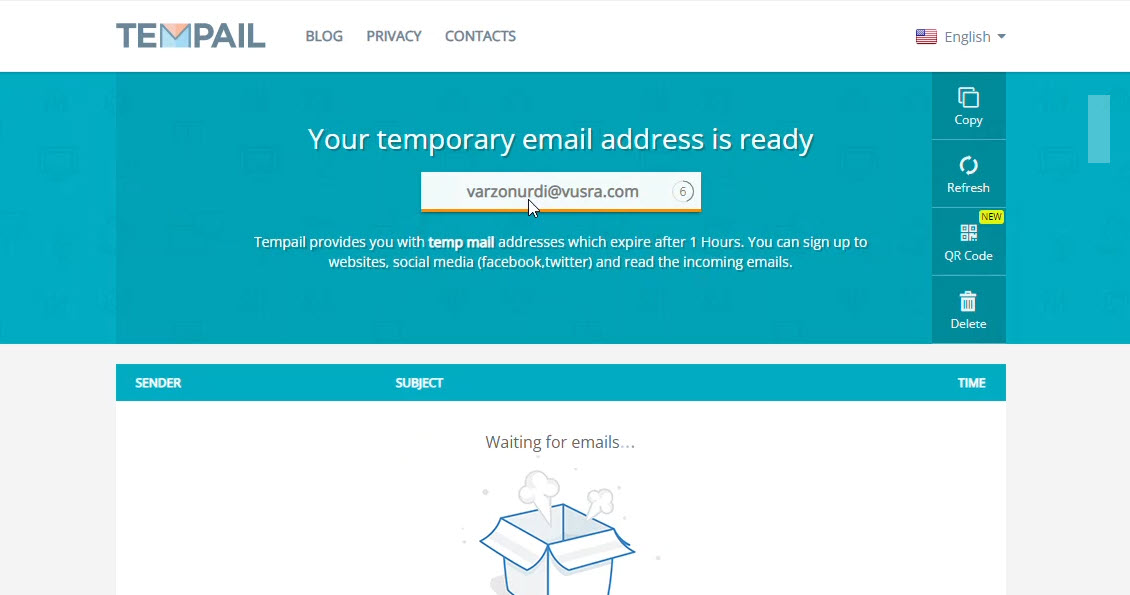
For this post, I am not going to use My real Email address, since everything is revealed, that’s why I am going to use a temporary email address. If you search on the web, for temp email, a bunch of websites will open. Just choose one of them and you are good to go.
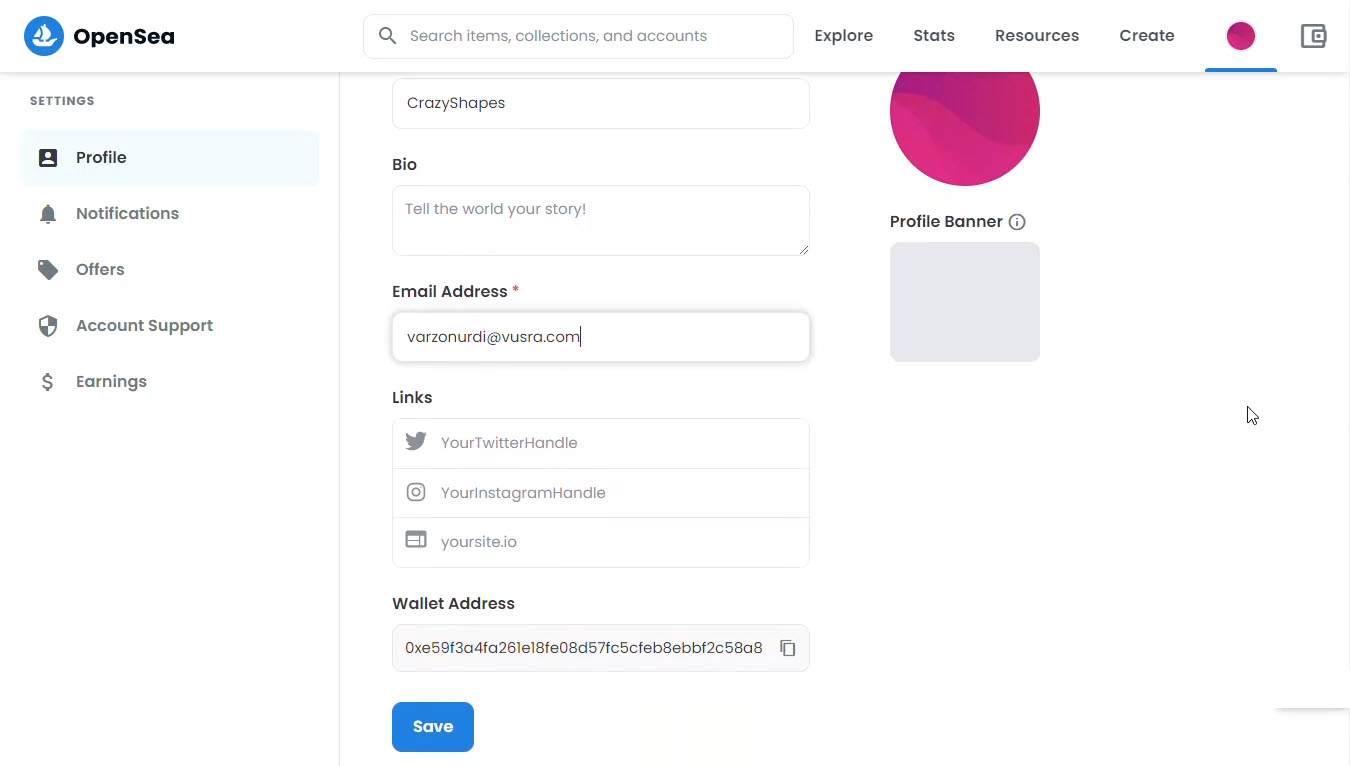
Once I got my temp Email Address, I am going to fill it with the necessary things, like My Name, Bio, and Email Address. You can also Add a Profile picture with a cover too if you want.
After you inserted your email address and saved the changes, a verification email will be sent to you. Open your email and verify your email address.
Once you are done configuring the profile settings, let’s move to the next step which is to upload and sell our first NFT.
Create & Sell your First NFT in 2022
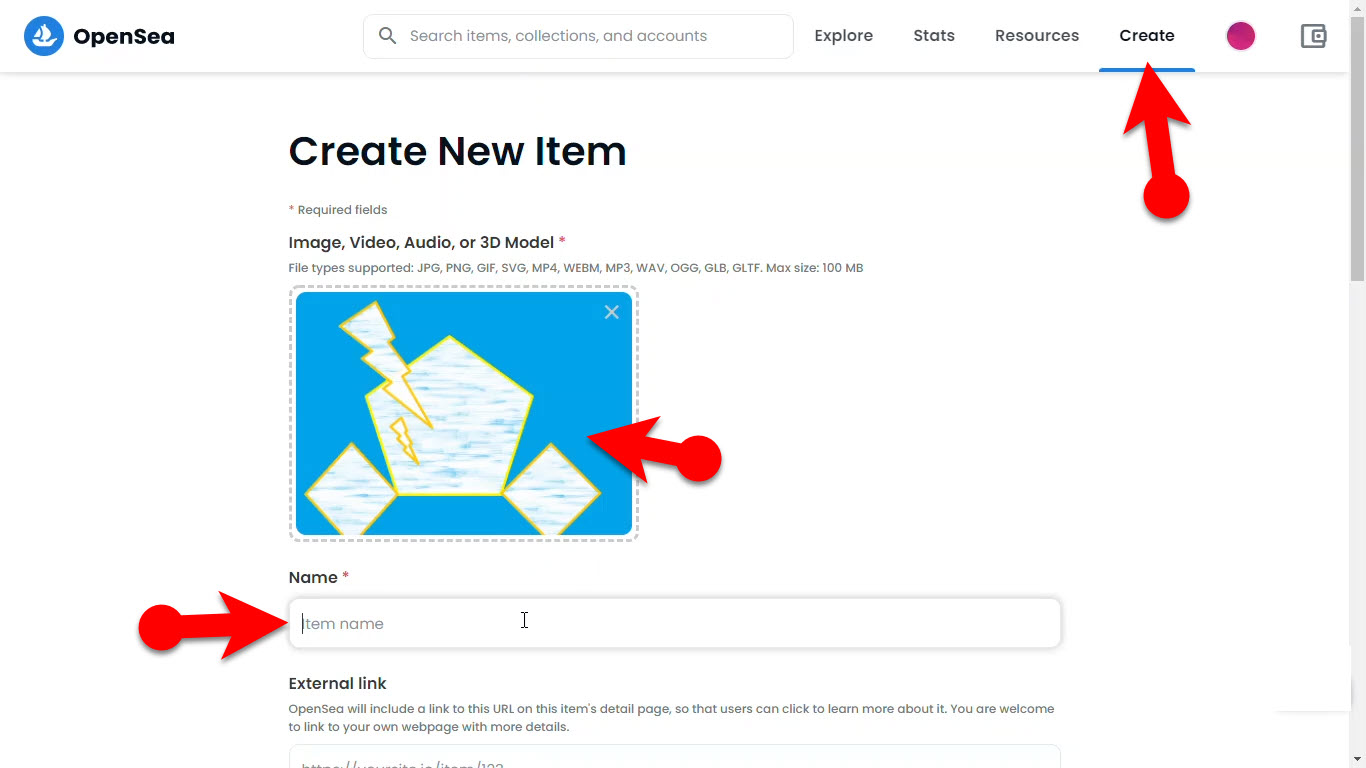
I am assuming that you have already created the first Pic that you want to sell as an NFT. You can use any platform to design your NFT, but I have used Microsoft Paint to make it since it is only an example. To upload your first NFT, click on create, then upload your image, provide a name. You can also provide an external too, but I am leaving it empty.
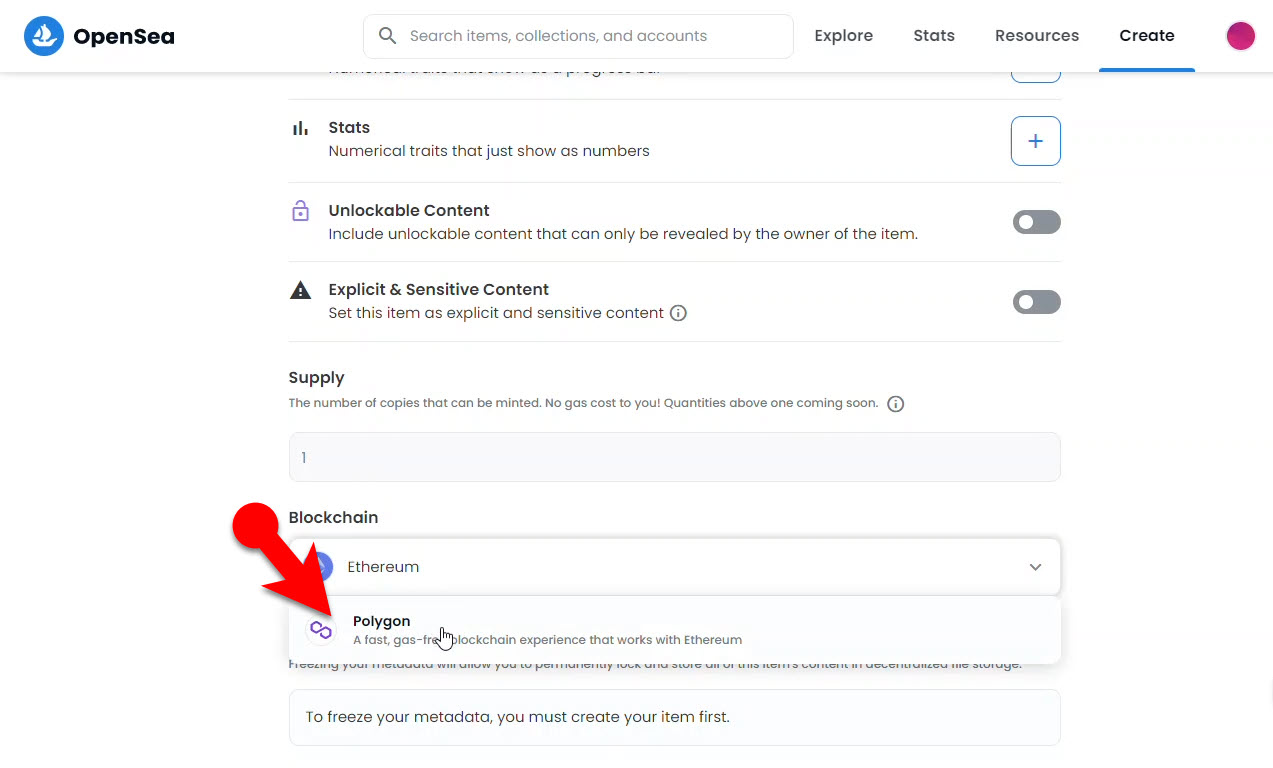
Also, You can configure the other settings but about the blockchain, make sure that you choose Ploygone, however, if you choose Ethereum, it will charge a lot and ask for tax information.
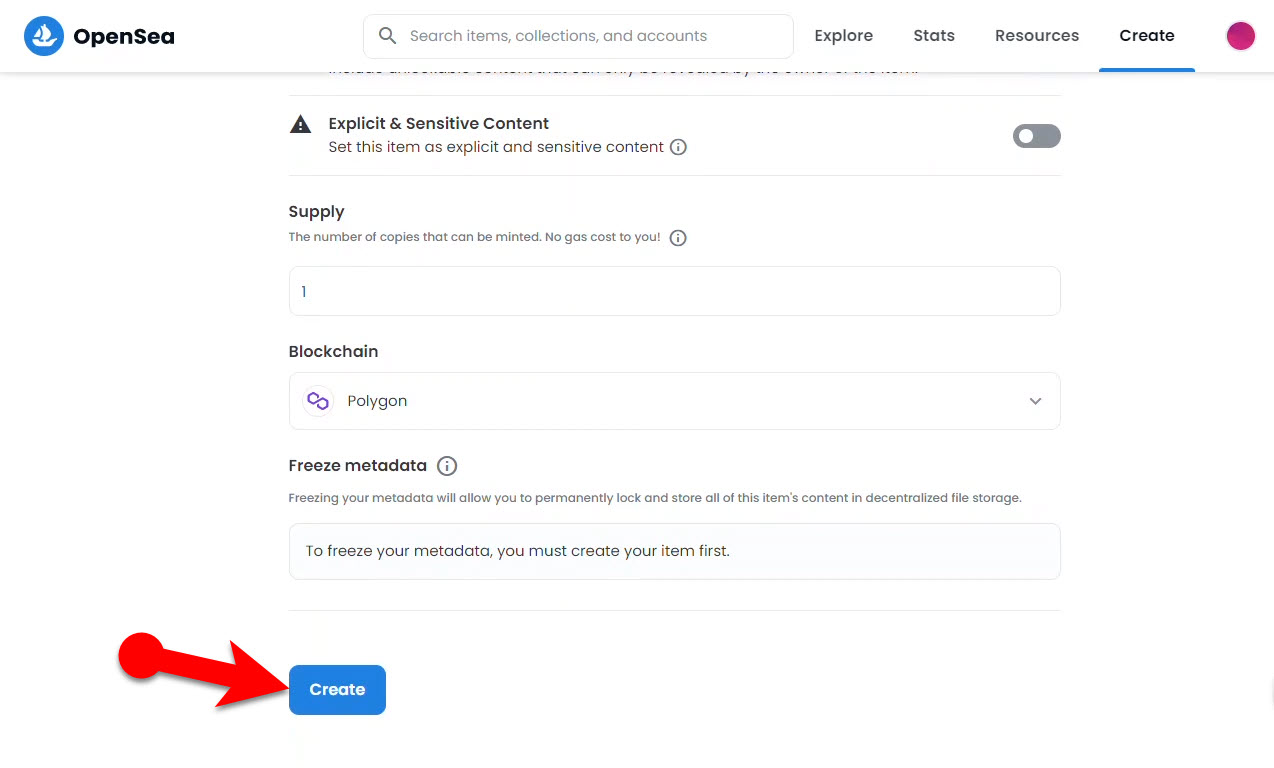
Once everything is done, click on create and we are good to go for selling out first NFT.
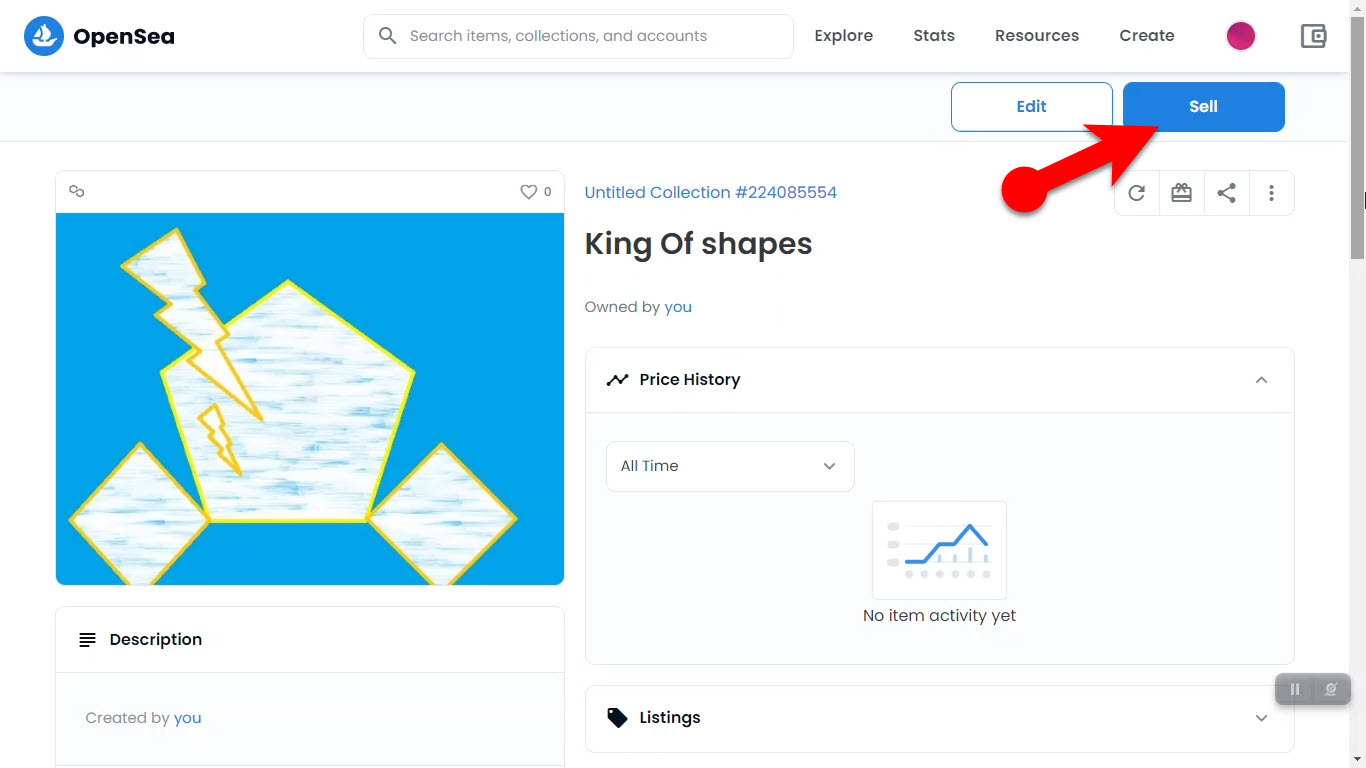
Once your item is listed, close the sharing window and click on sell.
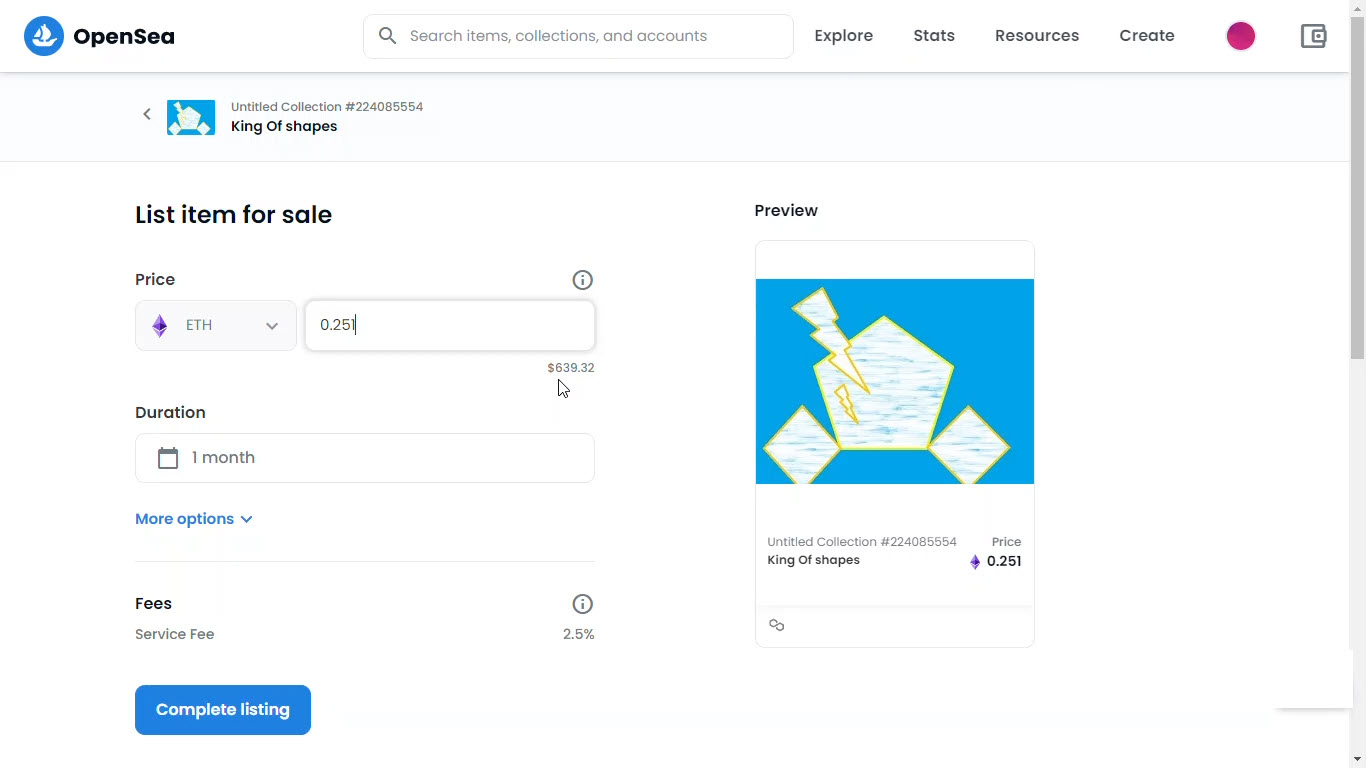
It is the place where you have to insert your price, configure the duration, and then click on the complete listing. Also once your NFT is sold, opensea.io will take 2.5% commission.
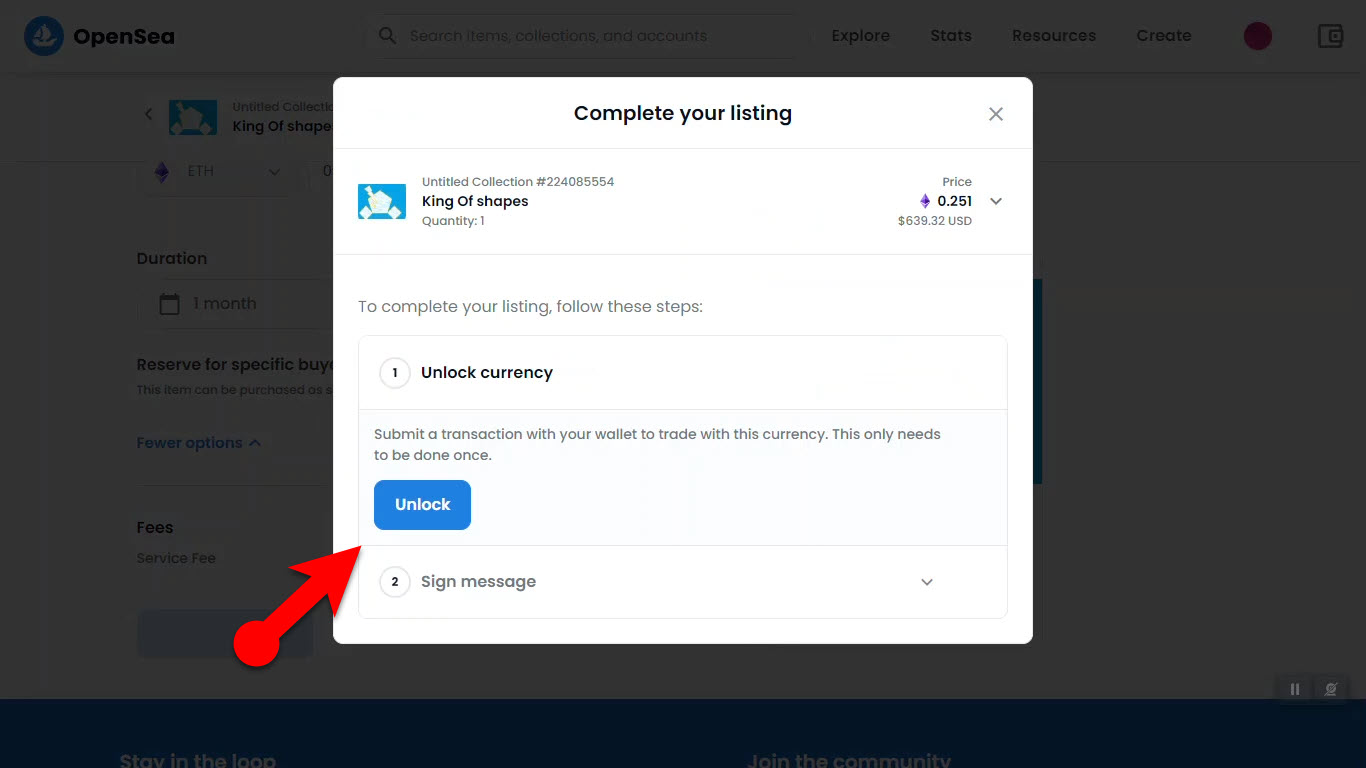
After you clicked on the complete listing, a new small window will open and you have to click on Unlock Currency.
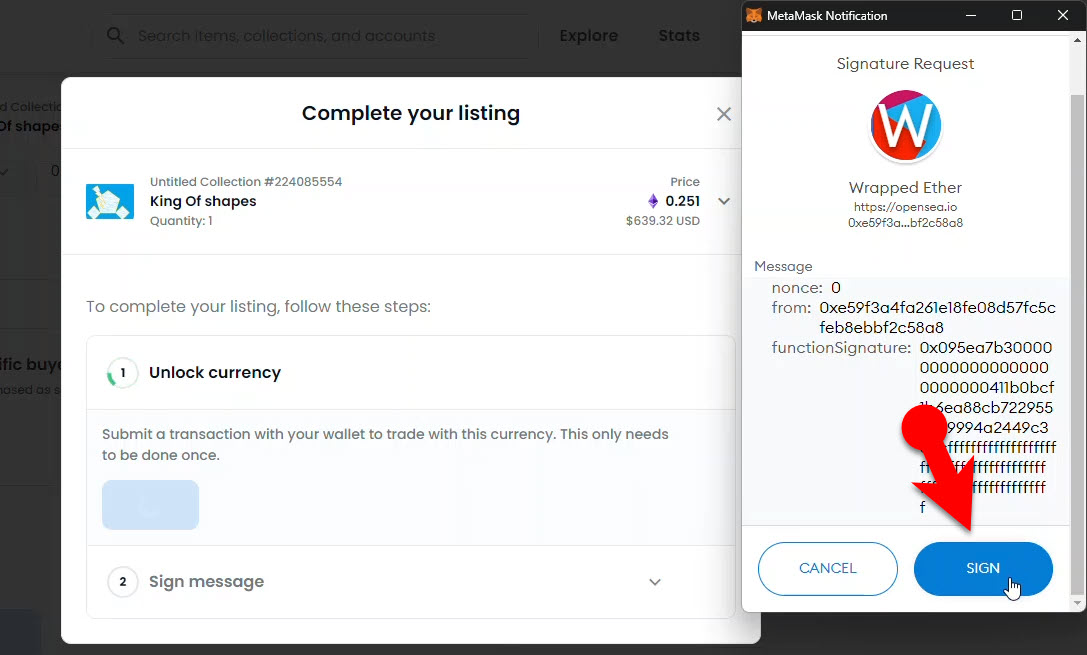
The moment you clicked on the unlock currency, the MetaMask extension will ask you to log in again.
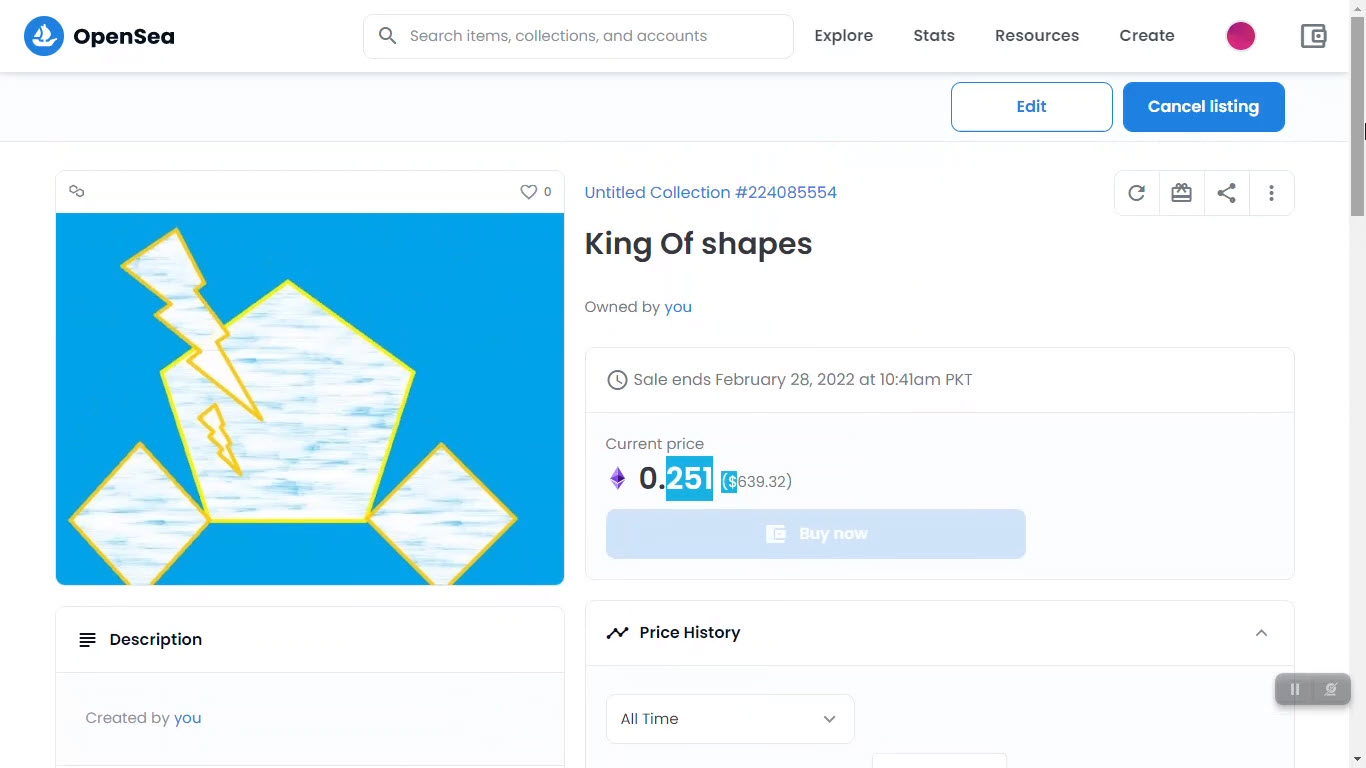
Go for you, now everything, and best of luck.
Watch the video:
If reading the article was confusing, watch the step-by-step guide video.
https://youtu.be/_QctQrACXXgConclusion:
This is How easily you can Create & Sell your First NFT on Opensea.io. I hope you have learned the lessons that you were looking and best of luck to you.

Leave a Reply