In this article, I will show you how to create macOS Big Sur ISO image file. macOS Big Sur ISO is for Installing macOS Big Sur on VMware or Virtualbox. We have already created a step by step guide on how to install macOS Big Sur on VirtualBox and VMware. You need to be on a real Mac (aka Macintosh) or have macOS installed as VM.
If you don’t have a Macintosh then I recommended use the following guide and install macOS Catalina on VMware.
Steps to Create macOS Big Sur ISO File
- Download macOS Big Sur From Apple
- Create & Mount an empty Disk Image using hdiutil
- Use the Createinstallmedia command to make the disk image bootable with macOS
- Unmount the Disk Image
- Covert the Disk Image to ISO image
#1.1. There are 2-ways to download macOS Big Sur from Apple. If you have a developer account then visit developer.apple.com. Click on Discover > macOS > Download. Sign in with your developer account then scroll down and click the Install Profile button for macOS Big Sur Beta install. if you don’t a developer account then download macOS Beta profile from betaprofiles.com.
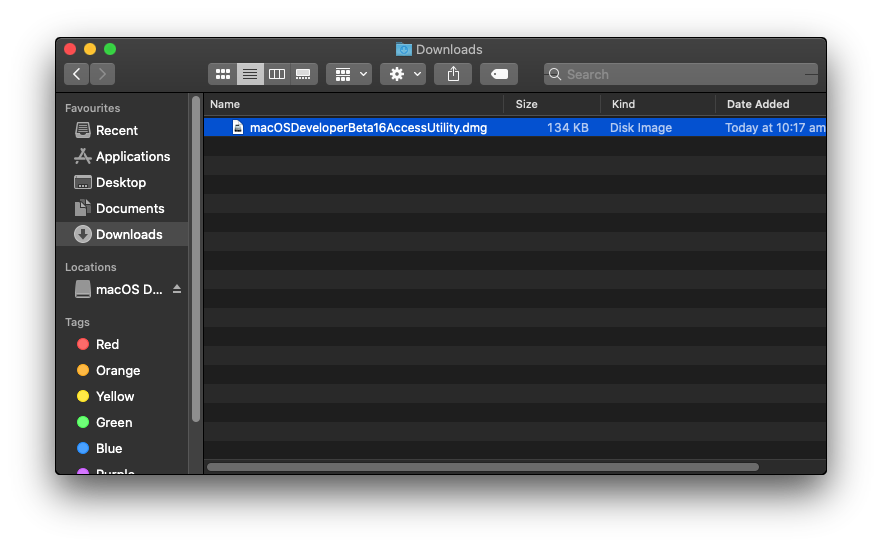
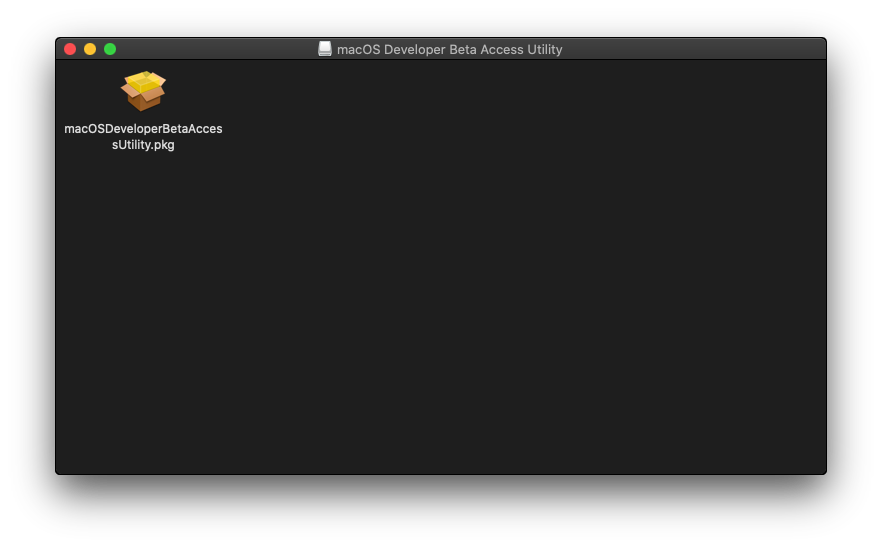
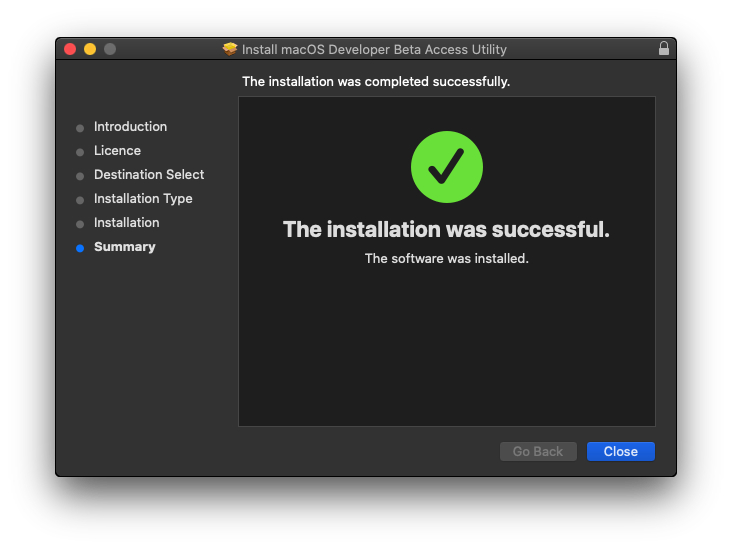
#1.2. After downloading the macOS Beta Access Utility.dmg open it. When the access utility window opens, Right-click on macOS Beta Access Utility.pkg then click Open > Continue > Agree > Install > Enter your Password > Install software > Close.
- Open macOS Beta Access Utility
- Install macOS Beta Access Utility
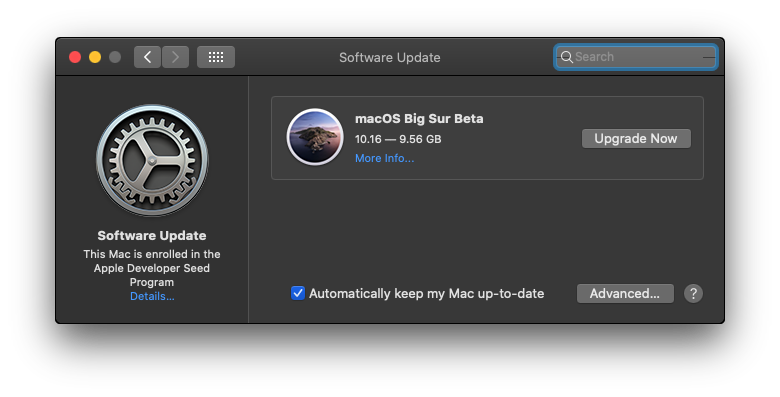
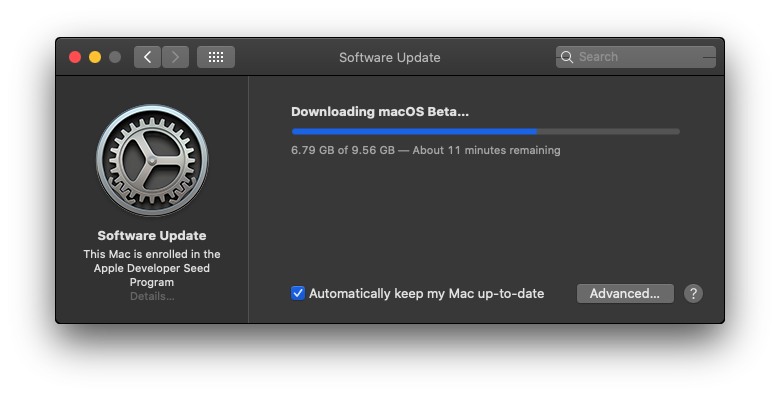
#1.3. Finally, the Software Update window will open then you can start to download the macOS Big Sur directly from Apple’s server. So click Upgrade Now and wait for the download process to finish. It may take 10-20 minutes depending on your internet speed.
- Download macOS
- Downloading macOS
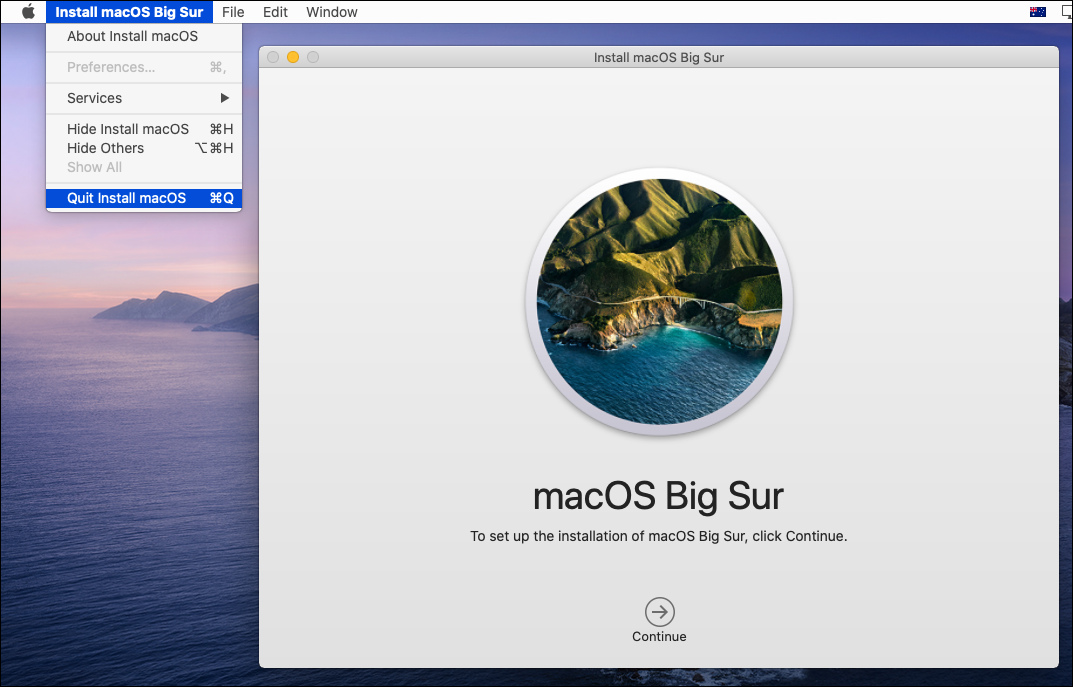
#1.4. When the download of macOS Big Sur is finished, make sure to quit the installer by click on Install macOS Big Sur > Quit Install macOS or pressing Command + Q.
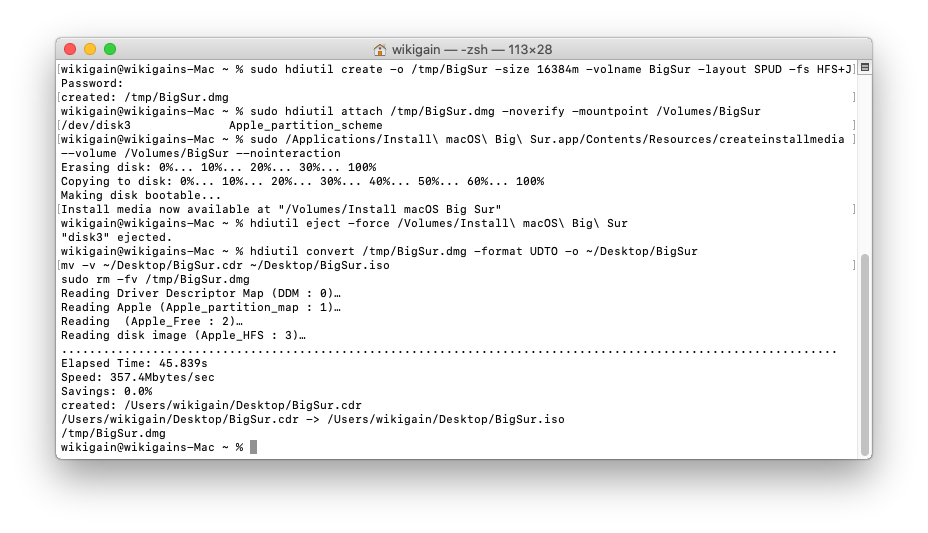
#2.1. Once macOS is downloaded then Open Terminal and type the following command to create an empty disk image. Type your password when prompted.
sudo hdiutil create -o /tmp/BigSur -size 16384m -volname BigSur -layout SPUD -fs HFS+J#2.2. Next, Mount the disk image to /Volumes/BigSur.
sudo hdiutil attach /tmp/BigSur.dmg -noverify -mountpoint /Volumes/BigSur#3. Now will use the Createinstallmedia command to make the disk image bootable with macOS Big Sur.
sudo /Applications/Install\ macOS\ Big\ Sur.app/Contents/Resources/createinstallmedia --volume /Volumes/BigSur --nointeraction
#4. Unmount the Disk Image which is formatted from BigSur to Install macOS Big Sur and bootable with macOS Big Sur ISO image.
hdiutil eject -force /Volumes/Install\ macOS\ Big\ Sur#5 Covert and rename the Disk Image to ISO
hdiutil convert /tmp/BigSur.dmg -format UDTO -o ~/Desktop/BigSur
mv -v ~/Desktop/BigSur.cdr ~/Desktop/BigSur.iso
sudo rm -fv /tmp/BigSur.dmg
Note: running the rm -rf commands will do the cleanup and remove all the unnecessary file (disk image) from the /tmp folder. Although if you don’t do it then it will be automatically be removed after a while.
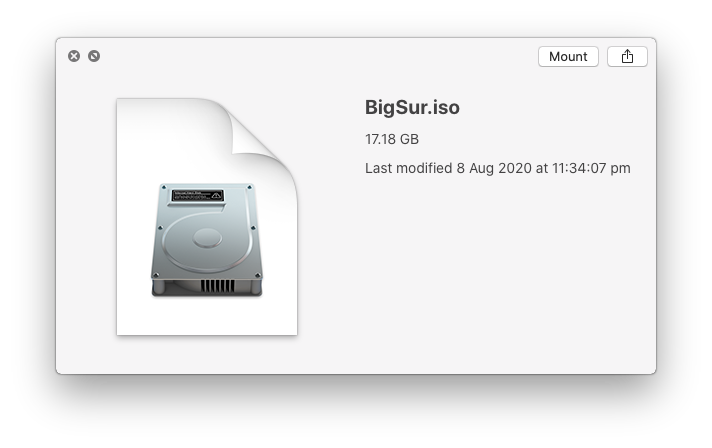
After running all the commands properly you should end up with a macOS Big Sur ISO image file on your Desktop.
Summary
That’s all about how to install create macOS Big Sur ISO image file. We covered the following:
- Download macOS Big Sur From Apple
- Create & Mount an empty Disk Image using hdiutil
- Use the Createinstallmedia command to make the disk image bootable with macOS
- Unmount the Disk Image
- Covert the Disk Image to ISO image
If I left out something and didn’t mention please let me know by commenting down below this post. We have lots of new posts related to macOS Big Sur so stay up to date with us.

What’s annoying is that it’s for apple and I want to download it on my pc
the bigger size is what did the trick. Thx for the detailed steps!! Works like a charm….
Everything is working… Until the last three steps, it’s GOING ON FOREVER
Klasse Anleitung! Habe heute auch BigSur auf einem ESX 7.0.1 installiert. Allerdings ist bei mir der Download zwei Mal am Ende abgebrochen (fehlerhaft). Nachdem ich den vorhandenen Snapshot gelöscht und die Festplatte etwas vergrößert hatte, lief es durch. 🙂
Das ISO File hat inzwischen 20,97 GB. echt heftig.
VMWare Tools habe ich vorher schon auf die neueste Version (11.2) aktualisiert.
For those who are getting Error erasing disk error number (22, 0) instead of sudo hdiutil attach /tmp/BigSur.dmg -noverify -mountpoint /Volumes/BigSur run this:
~ sudo hdiutil attach /tmp/BigSur.dmg -noverify -nomount
~ diskutil list
Notice your diskN from the latest command which is the BigSur image just created (replace N with your number)
Then run:
~ diskutil mountDisk /dev/diskN
Continue with the tutorial
hey, so it says erasing disk I mean like it’s erasing my pc?
when ever i past “sudo hdiutil create -o /tmp/BigSur -size 16384m -volname BigSur -layout SPUD -fs HFS+J” i get the error “hdiutil: create failed – File exists”
what should i do now?
I created a bootable iso of Big sur 11.0.1 (final) to install on VMware 16 pro, a strange thing happens to me I don’t know if it is a defect I can do the installation without problems but the installer starts in recovery mode ( then I click on reinstall macOs and do the installation) is this norma
I’m getting error “Erasing disk: 0%… 10%… Error erasing disk error number (22, 0) An error occurred erasing the disk” after the entering the command “sudo /Applications/Install\ macOS\ Big\ Sur.app/Contents/Resources/createinstallmedia –volume /Volumes/BigSur –nointeraction”
Please assist me with this.
Thank you for posting! The Big Sur.app released yesterday, downloaded today (on Catalina) was 12.22 GB. I experimented, and 12500m was too small by about ~185m, so settled on 12700m, final .ISO is 13.32 GB. Am going to try installing it on ESXi 7 after this. Thanks again.
Hey Adam,
I have created and uploaded the latest version of macOS Big Sur. Check here and let me know if it works on ESXi 7: https://www.wikigain.com/download-macos-big-sur-beta-iso-image/
For me createionstallmedia gave erasing error 22. When created .dmg with Disk Utility (it mounts automatically) worked fine.
Could you please assist me with the steps you followed?
what about for unsupported Macs?there should be one because my Mac doesn’t support Big Sur
but it can handle way better than the newer Macs.it is a mid-2012 MacBook Pro model.well you can put for an unsupported Mac section
I have tried this several times with the public beta, but it keeps giving a Cannot Allocate Memory error. Any ideas?
you don’t have enough memory to store mac OS big sur iso
Hi,
thanks very much for the guide. With the first public Big Sur release, the disk size 10 GB is not enough. I had to increase it, my choice was 16 GB, therefore:
“sudo hdiutil create -o /tmp/BigSur -size 16384m -volname BigSur -layout SPUD -fs HFS+J”
Thanks for your comment. I have updated the article.