You might be heard of creating bootable USB flash drive for Windows, for Kali Linux, and Mac OS X El Capitan for several times but in our today’s topic, I want to show you one of the best ways to create bootable USB installer for Mac using UniBeast software. As in our previous articles, we have shown you the following methods of creating a bootable USB Installer for Windows, Kali Linux, and Mac OS X.
- 4 Ways to Create Bootable USB Flash Drive for Windows
- How to Create Bootable USB for Kali Linux on Windows?
- How to Create Bootable USB Installer for Mac OSX on Windows 10?
We’ll not only cover bootable flash for Mac OS X but also in the next article. We’re going to show you that how to Install Mac OS X El Capitan on PC using UniBeast.
Create Bootable USB Installer for Mac OS Using UniBeast
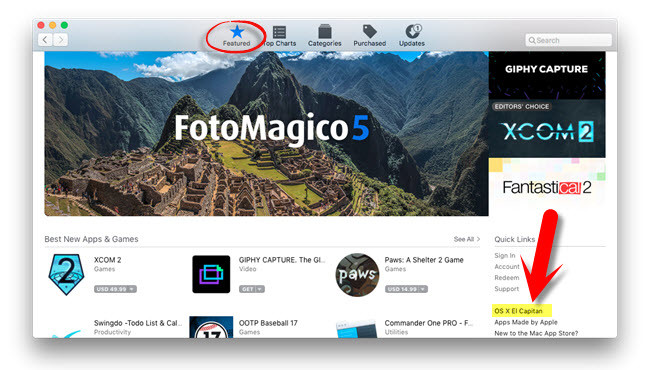
The first task that you’re going to do is open the Apple App Store. The store will open up after some seconds and tap on “Featured” then click on the “OS X El Capitan“.
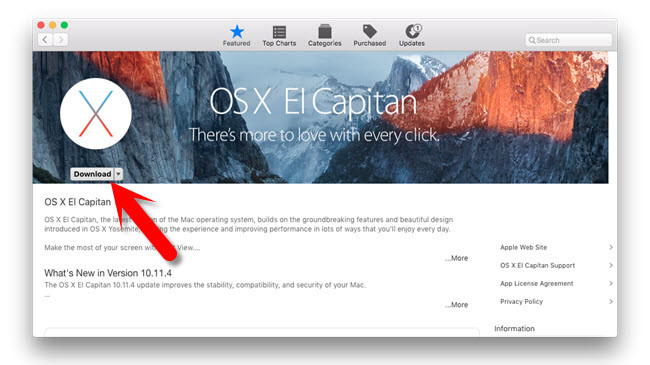
Download Mac OS X El Capitan
Now the Download button will appear. Click on the “Download” button then type your Apple ID with the password. If you don’t have an Apple ID or Don’t know how to create. Check out “How to create Apple ID without a credit card on iOS Devices“.
Download Mac OS X for Free
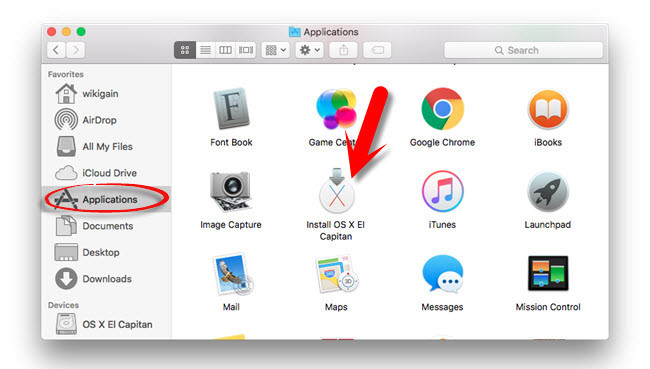
Once you have downloaded the “Mac OS X El Capitan”, the file will be downloaded to the Application folder on Mac operating system.
Mac OS X El Capitan Download Folder
If you don’t have Apple device like “MacBook Pro, MacBook Air” or something like this. Download the OS X El Capitan from the link below.
The Second operation that you’re going to do is open up the disk utility on Mac OS then erase your USB flash drive for Mac OS X El Capitan. Once you open up the “Disk Utility“, then erase the USB as the given screenshot.
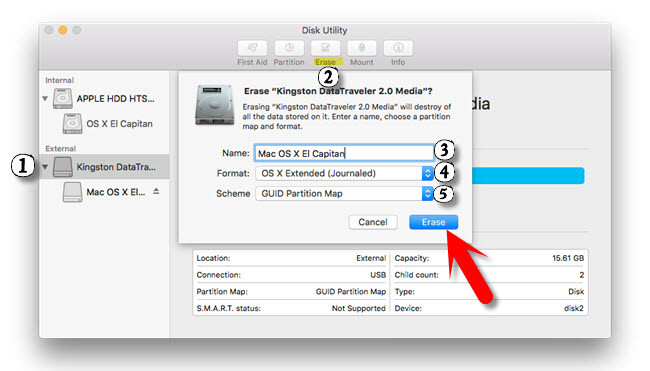
Create a new Partition for USB Flash
The third task that you are going to do is download the UniBeast. Go to tonymacx86 then download UniBeast.
UniBeast is a portable software that does not need Installation. Download UniBeast then starts creating bootable USB with it.
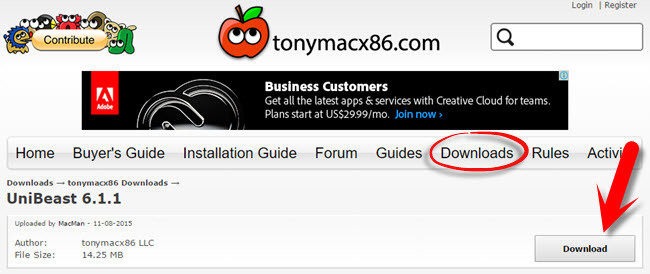
Download UniBeast Latest Version
Creating Bootable USB Installer Using UniBeast
Now, everything is ready to create a bootable USB installer for Mac using UniBeast. Open UniBeast that you’ve downloaded and tap on “Continue” button.
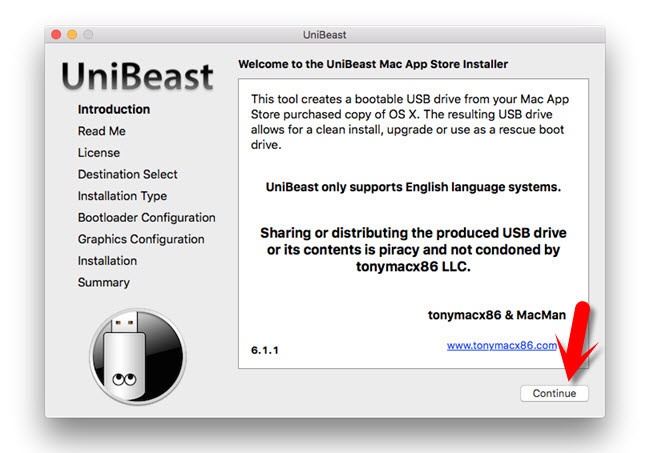
Welcome to UniBeast
Step #1. Read the information about UniBeast software then hit the “Continue” button.
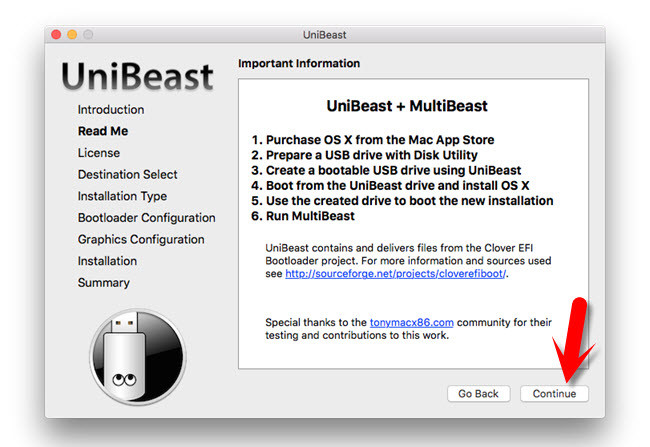
Important UniBeast Information
Step #2. Read UniBeast software license agreements then hit the “Continue” button. A small notification or warning will appear while you press the continue button. Click “Agree“.
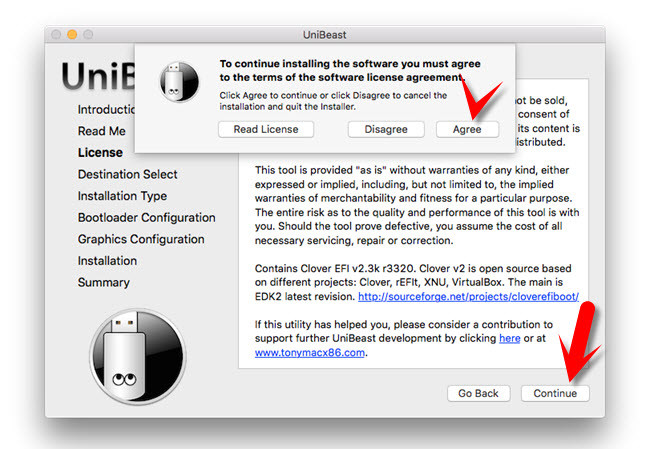
UniBeast License Agreement
Step #3. Choose the Mac OS X El Capitan USB flash then tap on “Continue” button.
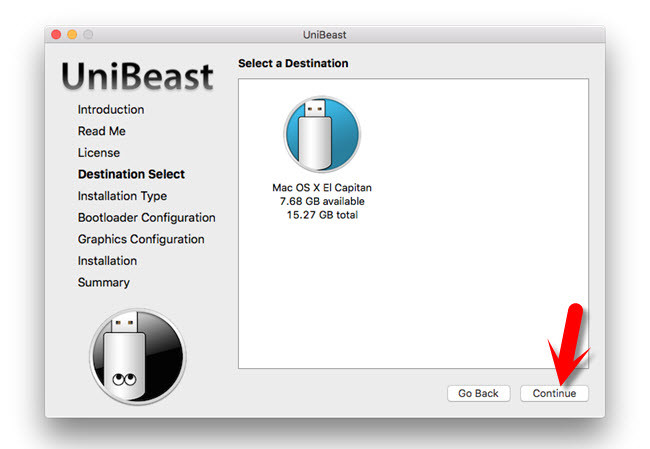
Select Destination
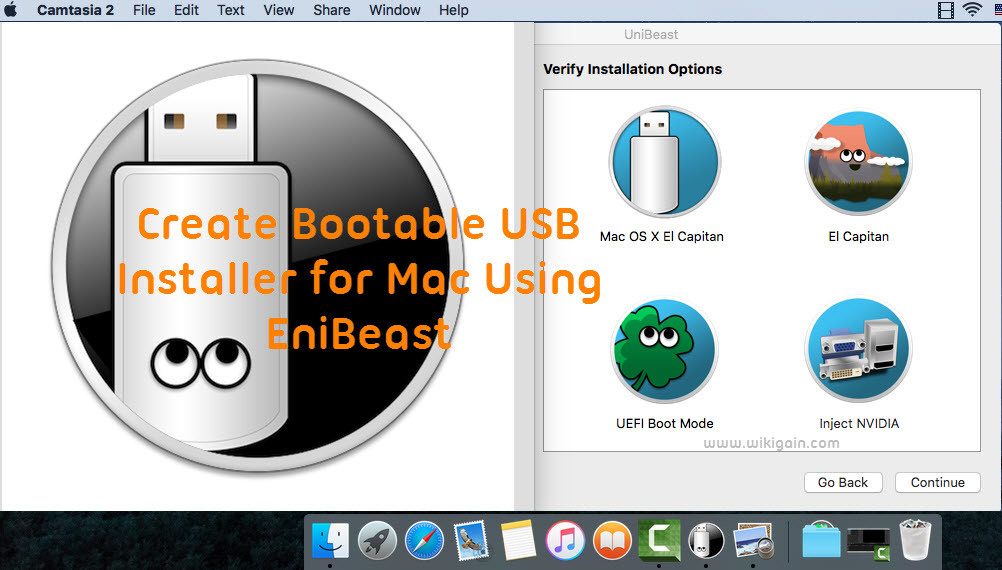
Step #4. You’ve two options “El Capitan” and “Yosemite”. Here, you’ve downloaded the El Capitan version so you must select the El Capitan. If you have the “Yosemite” version, select “Yosemite” then click on Continue button.
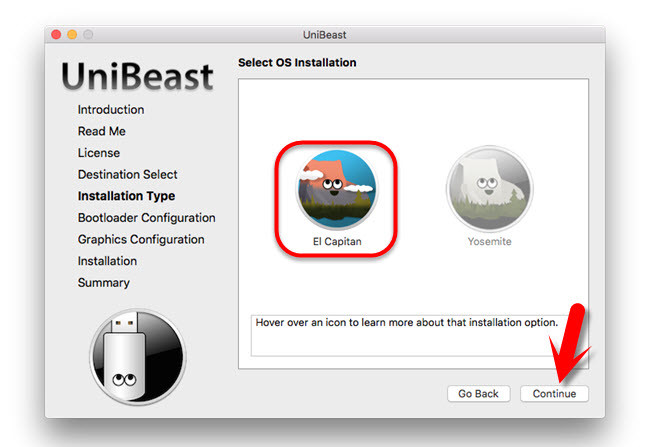
Select Installation Type
Step #5. In the “Bootloader Configuration”, choose the device boot support. If your computer support “UEFI Boot Mode” so select “UEFI Boot Mode”. If it doesn’t support UEFI, so select “Legacy Boot Mode”. Click the “Continue” button.
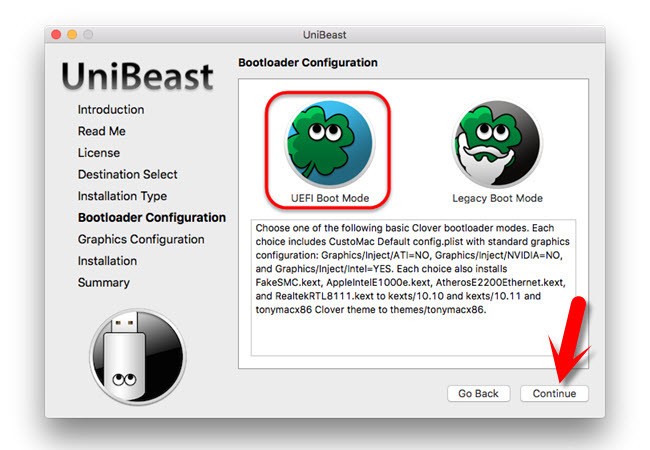
Bootloader Configuration
Step #6. In this step, a window will appear that you can check from these three options all or none of them. Choose “Inject NVIDIA” then tap “Continue” button.
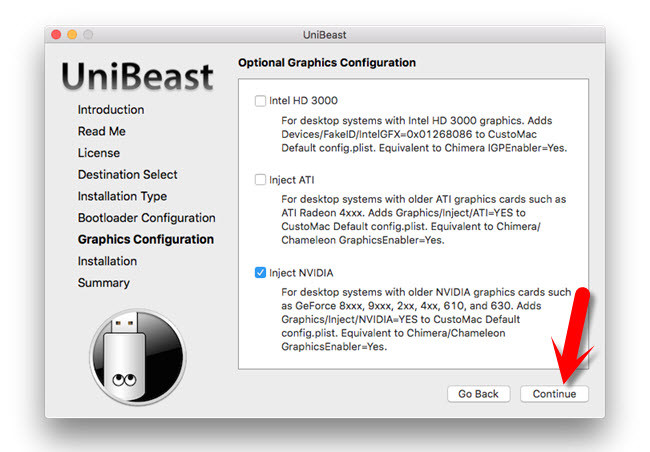
Graphics Configuration
Step #7. Here, you’ll have the summary of what you’ve done. Click the “Continue” button.
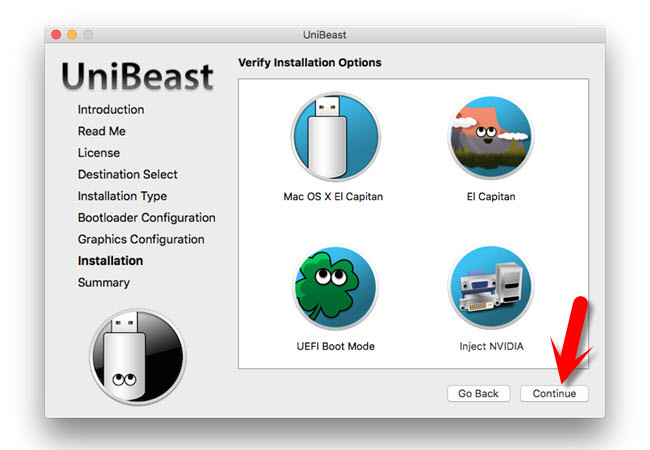
UniBeast Configuration Summary
Step #8. Now, you’ll see a warning message that says “UniBeast needs your permission to create bootable drive”. Type your username and password then click the “OK” button.
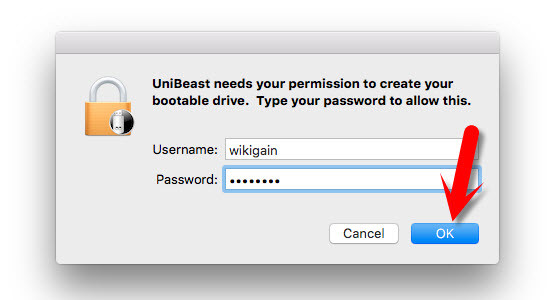
UniBeast Need your Permission
Now set back relax. Because this will take around 40 to 50 minutes to complete. This is not accurate the exact 40 to 50 minutes. It’ll take time. It depends on the speed of your computer.
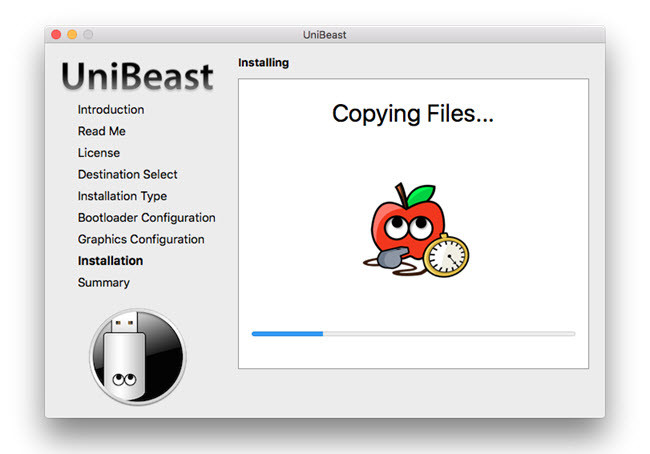
Copying files to Flash
Conclusion
This was how you could create bootable USB Installer for Mac OS X using UniBeast. Now eject your flash drive then install Mac OS X El Capitan on PC or your Mac device. If you don’t know how to install Mac OS X El Capitan, visit the following articles.
so does this work to boot el capitan on a pc and then will boot back to windows if you want it to?
Yes dear but if you want to install windows back then you must have a Bootable USB for windows to reinstall it. Use this article to create bootable USB drive for windows: https://www.wikigain.com/create-bootable-usb-flash-drive/
Where do I store the OS X (.dmg) file? Every time I go through the set up, I get stuck at selecting the operating system because I don’t know where to store the .dmg file so unibeast can see it.
You can store it on your Desktop or inside any drive that you want.
Hi, I have dowloaded .dmg file and put it on desktop, but I can not select the El Capitan in step #4.
Could you please help me?
Do you use Mac or Windows?