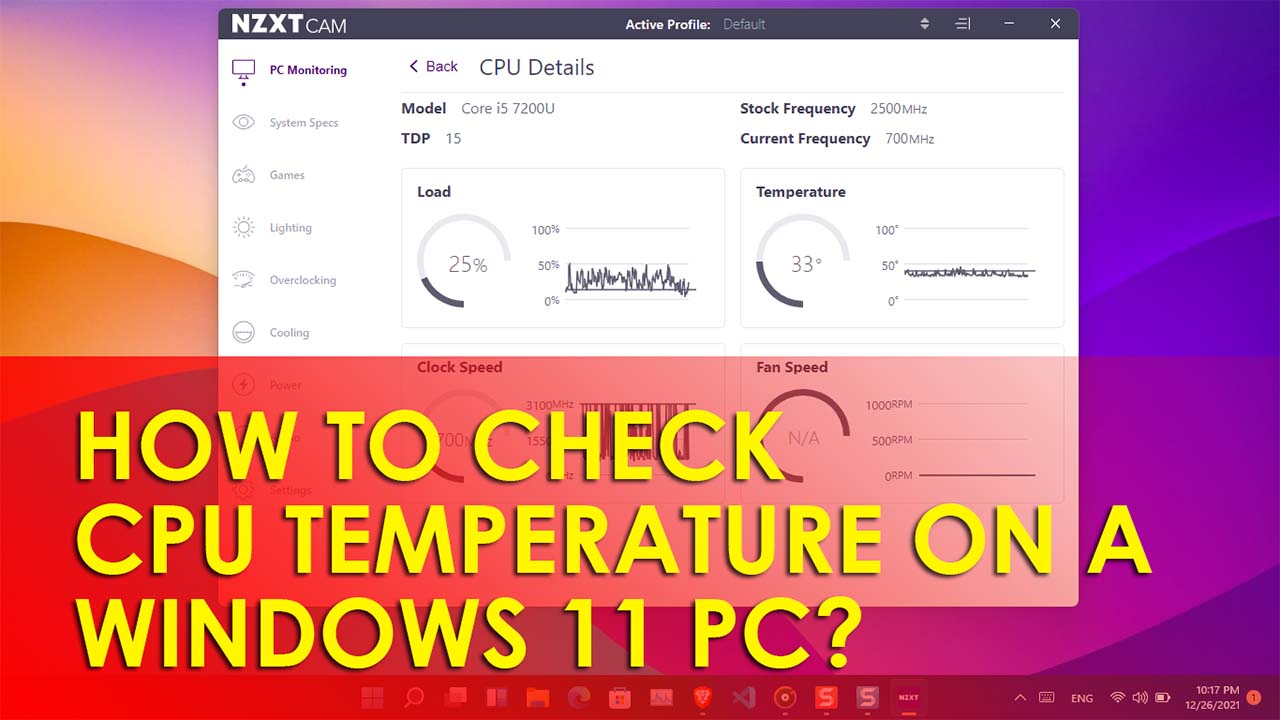
The core of a computer is the processor which is known as the CPU. The more you use your computer, the more it is going to increase the CPU temperature. If you are doing some heavy work, the CPU’s temperature can be reached even to 100°C. It is very very clear, a CPU running more than 90°C for an extensive period of time, can damage the CPU. That’s why the manufacturers are adding cooler, adding thermal paste, and in data centers, the server room is colder than the rest of the places. Even though adding cooler and thermal paste can help to cool the CPU, it doesn’t mean it will never heat up. If you are facing a performance issue, it is better to check the CPU temperature too. So, in this article, I am guiding you How to Check CPU Temperature on a Windows 11 PC?
The Ideal CPU temerpature
Generally speaking, the ideal CPU temperature under heavy load is between 65-70°C (It differs between the processors). On a Normal laptop, if you are gaming and editing videos for a while, the CPU temperature can easily reach 100°C.
Keynotes:
- Installing and running heavy load applications like using Adobe After effects 2022, Premiere 2022, and more can increase CPU temperature. Instead, use older versions of these graphical programs.
- 85-90°C is the sign of high temperature for CPU, Check the cooler (Or add another one), Check the thermal paste. Over time thermal paste will dry, so make sure to check it.
- Also, if you are running your computer daily for around 10-12 hours for gaming and editing, Check CPU Temperature.
- In any case, the CPU is getting hot, the manufacturers have built a protection procedure to stop the CPU from damaging itself. If it crossed the normal temperature, the thermal will start throttle itself(In simple words, it is slowing down the CPU Temperature).
- If this protection system if failed, certainly, your system will shut down.
How to Check CPU Temperature on a Windows 11 PC?
Apparently, By Default Windows does not have a built-in application to monitor the CPU temperature. So, it means we have to use a third-party application to check the CPU temperature. Apparently, some computers have the ability to monitor the CPU temperature from BIOS.
To monitor the real-time CPU temperature, there is numerous software, that can provide accurate information. And besides more information such as clock speed, usage percentage, fans status and more. To put it in simple words, you can monitor hardware properties that you have added to the Motherboard like GPU.
Here are some of the apps that you can use to check CPU temperature.
| HWMonitor | Core Temp | CPU-Z | NZXT CAM |
Step #1. For this post, I am going to use NZXT CAM, feel free to use any of them. Download the application and install, in case if you are NZXT CAM, after downloading the app, click on the installer and wait for the files to be downloaded.
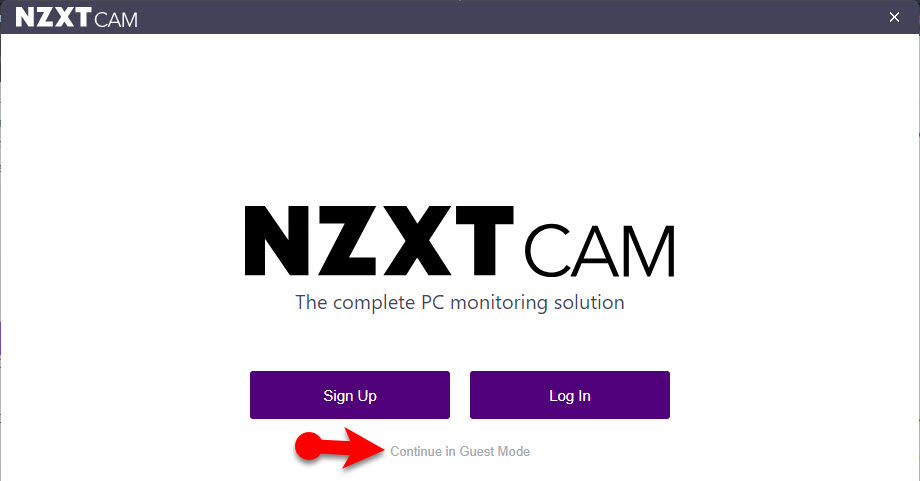
Step #2. After installing the application, you can either login into the NZXT CAM, or go on and use it as a guest which I am going to use.
Step #3. After that, you have to agree with the terms and conditions of the App.
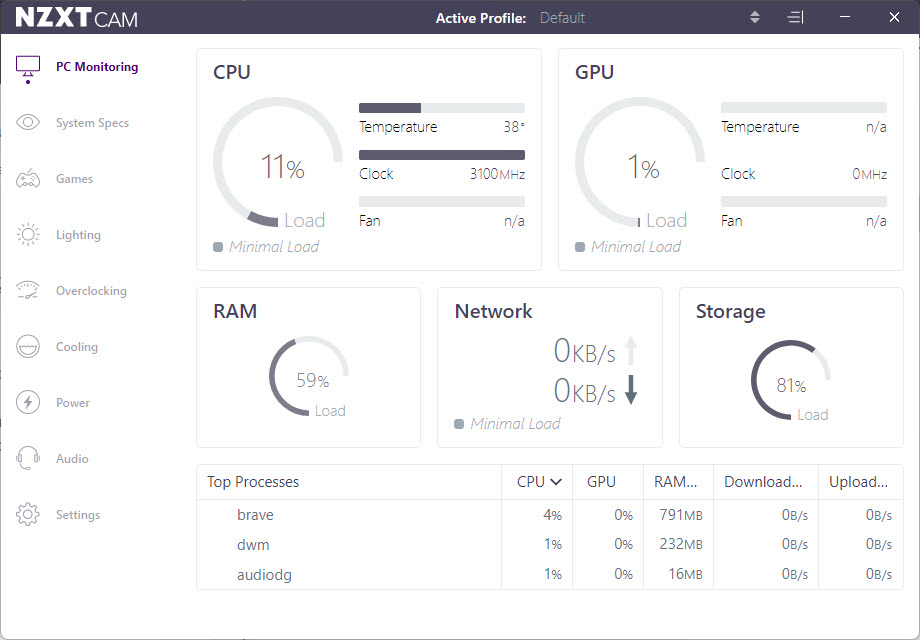
Step #4. Under the PC Monitor, you will see details reading the CPU temperature, GPU usage, RAM, Network, storage, and the current process apps.
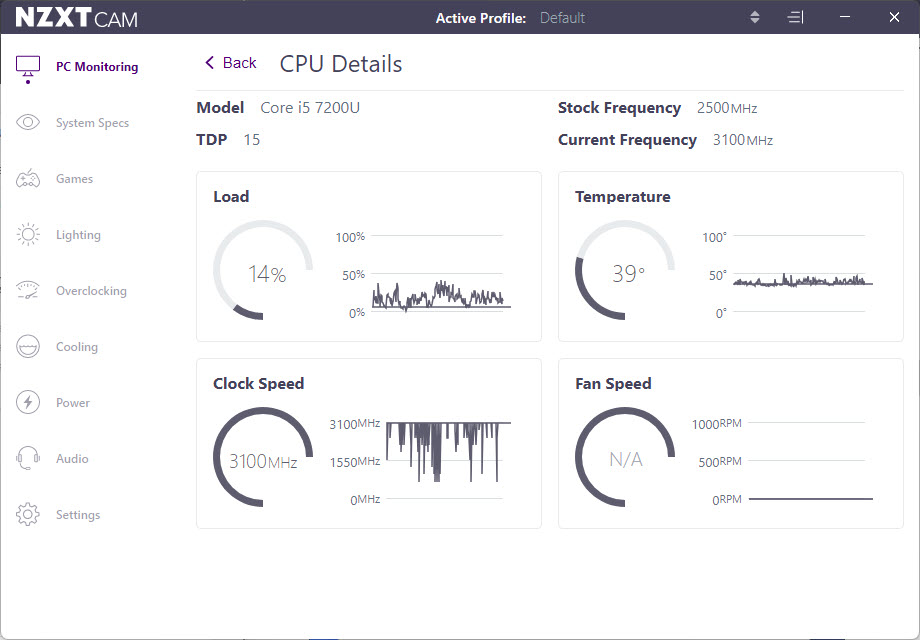
If you are looking for more information regarding the CPU Details, click on the CPU Temperature. Then you will Details such as Clock speed, Fan Speed, Temperature, load, frequency, and more.
Conclusion:
If you are looking to Check CPU temperature, Clock speed, fan speed, system details, and more, you better use the NZXT CAM App. I hope you have an idea about the CPU’s conditions.


Leave a Reply